28 Dec 2017
"The Opposite" (S05E21) was a watershed episode for Seinfeld. Not only did the series' direction change hands from Tom Cherones to Andy Ackerman after it, but the plots also became more focussed on the personality flaws in the characters rather than the bizarre situations they got themselves into. "The Opposite" was probably the only episode in which these two tropes converged, making for something quite unlike any other Seinfeld episode.
But that's not what I'm going to write about in this blog post. "The Opposite" has personal meaning for other reasons. As a short summary of the A-plot of this episode - George, a stout, balding, middle-aged man with no prospects with either a career or with the opposite sex, decides to act contrary to every instinct he's ever had. In a span of less than a day after doing so, he ends up with a new partner, a job with the New York Yankees, and finally gets the means to move out from his much beleaguered parents' house.
Though contrived for comical purposes, this episode holds something very profound under its veil of light-hearted comedy. The series goes to show that even when it's painfully obvious that you're clearly doing something wrong, it can be impossible to get out of the self-induced loop of listening to your instincts.
Jerry also drives this home with an understatedly profound remark in this episode, "If every instinct you have is wrong…then the opposite would have to be right!".
Perhaps it's a primal urge to follow your instincts, after all, your instincts are a product of your past experiences which have kept you alive. On the other hand, I feel a lot of it also has to do with getting into the comfort zone of being able to challenge your own perceptions. When you've been doing something wrong unconsciously, it becomes much harder to accept the fact that you were doing it wrong later on. Your brain accustoms itself to behaving in a certain way to a stimulus and left unchecked, this becomes a part of your personality. This is why I think shifting out of self-harmful behavior is so hard.
I've been a victim of falling to the trap of my own instincts ever since I joined college. Through a lot of time spent brooding and many moments of soul-searching through my daily diary entries, I was exactly aware of what I was unhappy with in life and what I had to do to fix it. Most of my problems could be traced down to a lack of self-esteem, but I was more than willing to wallow in pity than do anything about it. It was only a few months ago I decided to improve things by increasing physical activity and social exposure. There were many times I had a familiar nagging of doubt, but this too subsided as soon as I saw things can actually get better by not listening to yourself.
There is a poignant quote I've saved from Anne Lammot's Bird by Bird about not listening to the radio station in your head - the radio station KFKD, or K-Fucked:
"If you are not careful, station KFKD will play in your head twenty-four hours a day, nonstop, in stereo. Out of the right speaker in your inner ear will come the endless stream of self-aggrandizement, the recitation of one’s specialness, of how much more open and gifted and brilliant and knowing and misunderstood and humble one is. Out of the left speaker will be the rap songs of self-loathing, the lists of all the things one doesn’t do well, of all the mistakes one has made today and over an entire lifetime, the doubt, the assertion that everything that one touches turns to shit, that one doesn’t do relationships well, that one is in every way a fraud, incapable of selfless love, that one has no talent or insight, and on and on and on. You might as well have heavy-metal music piped in through headphones while you’re trying to get your work done."
Maybe the best way out lies in our mistakes, or rather, the opposite of them.

10 Dec 2017
It's been over a year since I switched laptops and I want to share my thoughts on my current one - the Lenovo ThinkPad 13 Gen 1. Before getting this laptop, I had been using a Lenovo IdeaPad G580 which I had gotten back in 2013. While that laptop suited my needs at the time, the unwieldy 15.6" display, sub-standard 2 hrs battery life, and weight of 2.8kg just wasn't cutting it for college. I decided to go for a smaller laptop with good battery life to replace it. I was pretty satisfied with the performance of the IdeaPad so anything as good or better than its i5-3230M was enough for me.
The first laptop which I looked at was the Asus UX305UA which ticked most of my boxes. However, some reviews had stated that its build quality was questionable so I decided to hold out for a better laptop. I later stumbled upon the Lenovo ThinkPad T460(s) which looked perfect for my needs but was just a touch out of my budget. While I was considering this, news began to surface about a 13.3" ThinkPad releasing soon, later to be known as the ThinkPad 13.
It wasn't an easy decision between the T460s and the 13. The T460s was definitely a more charming laptop but there were just too many drawbacks for it to be a serious contender. I found several negative reviews regarding the battery life and the 1080p display lottery. The ThinkPad 13 wasn't without issues of its own, but there wasn't a single review that hadn't sung praises about its keyboard, battery life, and overall value proposition. Plus it came with a USB Type-C port, dual upgradeable RAM slots, and was at least $200 cheaper than a comparatively specced T460s.
I got the silver version of the ThinkPad 13. Die-hard ThinkPad fans may condemn a non-black ThinkPad, but I think it looks great. Plus, the silver version came with the free 1080p IPS display upgrade. It also has a better choice of materials with an aluminium lid in place of the ABS plastic lid found on the black version of the ThinkPad 13.
I configured my laptop with the following specs for $720 (₹46500):
- Intel Core i5-6300U Processor (3MB Cache, up to 3.00GHz)
- Windows 10 Home 64 English
- 8GB DDR4-2133 SODIMM
- Intel HD Graphics 520
- KYB SR ENG
- 3cell 42Wh
- UltraNav (TrackPoint and ClickPad) without Fingerprint Reader
- Software TPM Enabled
- 720p HD Camera
- 256 GB Solid State Drive, SATA3 OPAL2.0 - Capable
- 45W AC Adapter - US(2pin)
- Intel Dual Band Wireless-AC(2x2) 8260, Bluetooth Version 4.1 vPro
- 13.3" FHD (1920 x 1080) IPS Anti-Glare, 220 nits
I don't think the Windows 10 version is available in India presently. I believe a watered down Chromebook version is available on Amazon.
Since I was saving a fair bit of money by not buying the T460s, I maxed out the CPU with the i5-6300U though I don't ever see myself using vPro. The other upgrades were the RAM and SSD to 8GB and 256GB respectively.
The ThinkPad 13 Gen 2 and Gen 1 share the same chassis, so most of the parts of this review regarding build quality, I/O, and keyboard apply for the Gen 2 as well.
Build Quality
Pretty decent. At 1.4kg it's not the smallest or lightest 13.3" laptop available, but it's small enough to not matter. Given the number of I/O ports onboard, it's a very acceptable compromise.
You can immediately tell it isn't made from the fancy composites of the X1 Carbon or the magnesium alloy of the T/X/P series ThinkPads. Yet the plastic frame of the laptop is good quality and can easily stand out on its own. Compared to other ThinkPads I've tried, it feels considerably better built than the E470 and the X1 Yoga and is on par, if not better than the T440p. The P50 is more solid, though it must be kept in mind that the P50 is a much thicker laptop than the 13. The 13's build quality is on another level compared to the Lenovo IdeaPad G580 I had been using before this. Even after a year of heavy use, creaking on twisting the frame is non-existent and nothing feels like it's on the verge of falling apart like it did with the IdeaPad.
The hinges are nice and tight and the lid gives a satisfying thump on closing. Speaking of which, the aluminium lid is solid and protects the display nicely. However, it does give the laptop a heterogeneous look and feel with the rest of the frame being made of plastic.
One aside here, the 13 does have unique touches not found on higher end models. For example, the "i's" in the ThinkPad logo in both the lid and the palm-rest glow and the ThinkPad logo has a really nice brushed finish to it on the lid.
Opening the laptop for servicing and upgrading is not a good experience. The bottom base is held by 10 captive screws and is incredibly fiddly to pry open. I ended up scratching off some of the paint of the bottom cover in the two times I tried opening the base. That said, upgradability is much better than what you can find on comparable ultrabooks. Both DDR4 RAM slots, the M.2 SATA SSD (no NVMe on the Gen 1 unfortunately), the Wi-Fi card, and battery can be easily replaced.
The touchpad has its share of mechanical issues too. It is a clickpad design, similar to that found on MacBooks. Sometimes dust and debris would find its way in the gap between the base of the laptop and the touchpad causing the right button to physically stop clicking. It's a simple problem to fix and all it needs is a swab with a piece of thick paper under the touchpad. Nevertheless, I expected a more robust design. At least this problem isn't exclusive to the 13 as it seems to happen to the T450s as well.
Lastly, the plastic construction does have some drawbacks when it comes to scratches. A small section of the lid joining it to the hinges is plastic and is much more scratched up than the aluminium part of it. After a year, the base unit also had some paint rubbing off from the edges. I would suggest buying a carrying sleeve to avoid this from happening. The silver palmrests also have taken a slightly darker shade to the rest of the laptop.
Fortunately, all the damage is only cosmetic and the laptop has held up pretty well after being jostled around campus for more than a year.
I/O
Connectivity is a strong point for the ThinkPad 13. It's impressive to see how many ports there are on a laptop of this size! You get 3 USB-A ports running at USB 3.0 speeds, a full size HDMI port, an SD card reader in which the card goes all the way in, a headphone jack, and a USB-C port supporting charging and 2160p/60fps video out. There's also Lenovo's proprietary OneLink+ docking solution though I haven't tried this out yet.
On the subject of the USB-C port, a minor nitpick is that it's USB 3.1 Gen1 and doesn't support Thunderbolt. I still much prefer it to the option of having a full size Ethernet port as on the T460s. The USB-C port is so much more flexible.
I also discovered that all the USB ports support fast (faster?) charging. My phone charges as fast from the laptop's USB port as it does from a 5V/1.5A charger.
Wireless connectivity is serviced by the Intel 8260 Wi-Fi card, the same one used on all the top-spec 2016 ThinkPads. Speed and connection quality is good and it supports 802.11ac.
Display
You can't really go wrong with a 1080p IPS display on a 13.3" laptop.
The LG 1080p IPS display on ThinkPad 13 comes with a matte coating. Even for an IPS display, the viewing angles are excellent. 13.3" and 1080p is a sweet spot for sharpness and UIs scale fine in both KDE Neon and Windows 10. Thanks to the matte coating, the screen brightness is perfectly sufficient 90% of the time when I use it. I've hardly run into any instances where I felt the need to crank the screen brightness any higher.
Colour space coverage is reportedly below average for an IPS screen and it really shows when put side by side with a MacBook Pro or a Dell Inspiron 7460. That said, for coding and web-browsing, it's hard to ask for more.
Battery Life
The ThinkPad 13 is powered by a 42 Wh battery. It has degraded slightly from when I got the laptop - initially the battery was able to hold 46 Wh of charge but now it usually holds 40-41.5 Wh when full. I usually run several Firefox tabs open with some IDE's like VS Code, Atom, or Android Studio on KDE Neon. The laptop is very energy efficient and power draw rarely climbs above 6.5W at 30% brightness after enabling TLP. My old laptop used to idle at 17W and when people claim that Intel has gimped their CPUs since the IvyBridge era, I think they're disregarding the huge leaps in power efficiency.
In more than a year of owning it, I haven't once drained the battery. I've even gotten through 9-5 days at a summer internship solely off battery power. I typically get around 6-8 hours of battery life depending on the usage. I can't speak of how good or bad battery life is on Windows 10 as I've never used it for anything other than gaming, which brings me to my next section.
Subjectively, it's quite snappy. A lot of the performance improvements compared to the laptop I owned before this can be chalked up to the SSD. The one used in the ThinkPad 13 I got was the LiteOn L8H-256V2G and it gives about 540MB/sec in sequential reads and 300MB/sec in sequential writes. It's common knowledge how much faster SSDs are than HDDs, but I hadn't expected it the difference in swapping performance to be as enormous as it is. I can hardly tell when Linux starts filling up the swap space on the SSD as the degradation in performance is minimal.
The i5-6300U is sufficient for my needs and thermals in the ThinkPad 13 are good enough that the laptop doesn't need to throttle even under prolonged loads. The processor cools passively most of the time and the fan only kicks in under load. Even so, I'm hard pressed to hear the fan below 4000RPM. The CPU is able to overclock to 2.9 GHz on both cores but I've rarely seen it climb over 2.8 GHz. I'm not sure if this is due to the 15W TDP of the SoC or the laptop's conservative policy when it comes to cooling as core temperatures never climb over 75C on Prime95.
As far as programming goes, it's not struggled with anything I've thrown at it - from building large C++ codebases to running instances of IntelliJ and Android Studio (with the x86 Android emulator) together. The CPU is definitely faster than the i5-3230M in my old laptop.
Plus, for the first time, gaming isn't a terrible experience on integrated graphics if your expectations are low enough. I can get 30fps in Skyrim Special Edition at 720p and Medium graphics presets with 2X AA. DiRT3 and Mirror's Edge gave about 60fps at 720p with low settings. Sonic Mania works perfectly at 1080p 60fps. On the other hand, it struggled with returning a framerate greater than 30fps on Sonic Generations. Bear in mind that all this is with single channel 8GB RAM. Performance could be better with dual channel RAM.
Load times in all games are much lesser than they would be on a gaming console such as the PS4 thanks to the SSD.
Overall, as long as you don't mind running old games at 720p with some sacrifice in visual quality, the integrated Intel HD 520 should be adequate. At least it's good at smooth 4K video playback.
Keyboard
Really good! For years, I used to think that the AccuType keyboard on my Lenovo G580 was unbeatable, but that changed as soon as I laid my hands on the ThinkPad 13's keyboard. The keys are perfectly spaced, have amazingly deep travel, and have great texture. I really like the layout too - PgUp/PgDn + Ctrl makes it very easy to switch tabs and Fn and the left Ctrl can be swapped in the BIOS. I don't miss the lack of keyboard backlighting but I would really appreciate something like a ThinkLight found in older ThinkPad's.
It turns out that the keyboard on the 13 is exactly the same as the one on the T460s. I learned this by ruining the stock keyboard when doing my weekly round of sterilising all my electronic devices. AliExpress didn't have the silver 13 keyboard but the 13's FRU manual showed that the T460s keyboard (albeit black instead of silver) could be directly dropped in. After a month of waiting to get it shipped from China, it was a simple 10 minute job to replace the keyboard. Props to Lenovo for reusing FRUs and keeping the 13 so serviceable.
I'm pretty happy with the touchpad as well. It has a smooth surface and has a very satisfying physical click to it. Gestures work well and it's supported out of the box on Linux. The TrackPoint and click buttons have become indispensable for programming. However, I'm disappointed about how fast the TrackPoint's coating wears off as it becomes really difficult to use the shallow TrackPoint once this happens. ThinkPads really should ship with some replacement caps.
Linux Support
I've been using an Ubuntu derivative distro on my laptop ever since I got it. In the first few months, I used Kubuntu 16.04 and then later on I switched to KDE Neon (which, incidentally, is based on Ubuntu 16.04). Linux support is remarkable and everything "just works" right out of the box. Older versions of the 4.x Linux kernel had some issues with the touchpad "desyncing" every 15 minutes, but this has by and large been fixed over the last few months. Thanks to the excellent Mesa drivers, 3D performance of the Intel HD 520 is very stable and actually works better than my friend's NVidia Quadro GPU did with Nouveau drivers (not in terms of frame rate, but stability). The Trackpoint works well and all the function keys work perfectly. Also, as mentioned earlier, battery life under Linux is great. I'm curious to see if the OneLink+ works and if the USB-C can output video on Linux.
In my opinion, there's nothing you're missing by running Linux on the 13 instead of Windows when it comes to hardware support.
Conclusion
The ThinkPad 13 is a nice laptop, but it's not for everyone. It fits my workflow perfectly with the good keyboard, display, and build quality. However, not everyone needs as many I/O ports as the 13 has and they would probably be better served by the numerous ultrabooks with better displays and bigger batteries. On the other hand, some might jump for a higher-end ThinkPad model like the T460s/T470s with better build quality and connectivity options. That said, the ThinkPad 13 does a lot of things right and fills a niche in the market for small laptops with good keyboards and several ports. A lot of compromises made in the ThinkPad 13 are reasonable and if you can live with these compromises, it definitely is worthy of consideration for your next laptop.
17 Aug 2017
Last month, I attended KDE's annual conference, Akademy. This year, it was held in Almeria, a small Andalusian city on the south-east coast of Spain.
The name of the conference is no misspelling, it's part of KDE's age old tradition of naming everything to do with KDE with a 'k'.
Akademy was a collection of amazing, life-changing experiences. It was my first solo trip abroad and it taught me so much about travel, KDE, and getting around a city half-way accross the world from home.
Travel
My trip began from the recently renamed Kempegowda International Airport, Bangalore. Though the airport is small for an international airport, the small size of the airport works to its advantage as it is very easy to get around. Check-in and immigration was a breeze and I had a couple of hours to check out the loyalty card lounge, where I sipped soda water thinking about what the next seven days had in store.
The first leg of my trip was on a Etihad A320 to Abu Dhabi, a four hour flight departing at 2210 on 20 July. The A320 isn't particularly unique equipment, but then again, it was a rather short leg. The crew onboard that flight seemed to be a mix of Asian and European staff.
Economy class in Etihad was much better than any other Economy class product I'd seen before. Ample legroom, very clean and comfortable seats, and an excellent IFE system. I was content looking at the HUD-style map visualisation which showed the AoA, vertical speed, and airspeed of the airplane.
On the way, I scribbled a quick diary entry and started reading Part 1 of Sanderson's Stormlight Archive - 'The Way of Kings'.
Descent to Abu Dhabi airport started about 3:30 into the flight. Amber city lights illuminated the desert night sky. Even though it was past midnight, the plane's IFE reported an outside temperature of 35C. Disembarking from the plane, the muggy atmosphere hit me after spending four hours in the plane's air-conditioned cabin.
The airport was dominated by Etihad aircraft - mainly Airbus A330s, Boeing 787-8s, and Boeing 777-300ERs. There were also a number of other airlines part of the Etihad Airways Partners Alliance such as Alitalia, Jet Airways, and some Air Berlin equipment. As it was a relatively tight connection, I didn't stop to admire the birds for too long. I traversed a long terminal to reach the boarding gate for the connecting flight to Madrid.
The flight to Madrid was another Etihad operated flight, only this time on the A320's larger brethren - the A330-200. This plane was markedly older than the A320 I had been on the first leg of the trip. Fortunately, I got the port side window seat in a 2-5-2 configuration. The plane had a long take-off roll and took off a few minutes after 2am. Once we reached cruising altitude, I opened the window shade. The clear night sky was full of stars and I must have spent at least five minutes with my face glued to the window.
I tried to sleep, preparing myself for the long day ahead. Soon after waking up, the plane landed at Madrid Barajas Airport and taxied for nearly half-an-hour to reach the terminal. After clearing immigration, I picked up my suitcase and waited for a bus which would take me to my next stop - the Madrid Atocha Railway Station. Located in the heart of city, the Atocha station is one of Madrid's largest train stations and connects it to the rest of Spain. My train to Almeria was later that day - at 3:15 in the afternoon.
On reaching Atocha, I got my first good look at Madrid.

My facial expression was quite similar
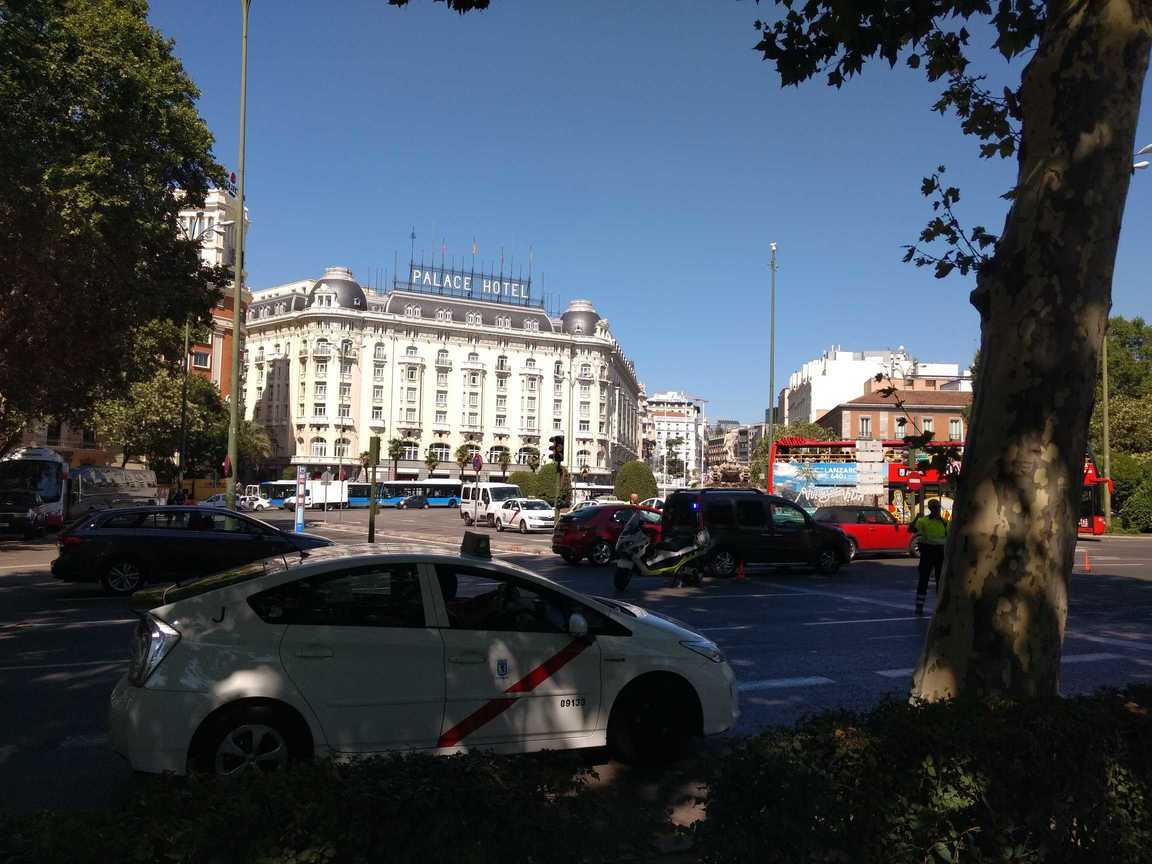
I was struck by how orderly everything was, starting with the traffic. Cars gave the right of way to pedestrians. People walked on zebra crossings and cyclists stuck to the defined cycling lanes. Things taken for granted in developed countries looked like a world apart from Bangalore. Shining examples of Baroque and Gothic architecture were scattered among newer establishments.
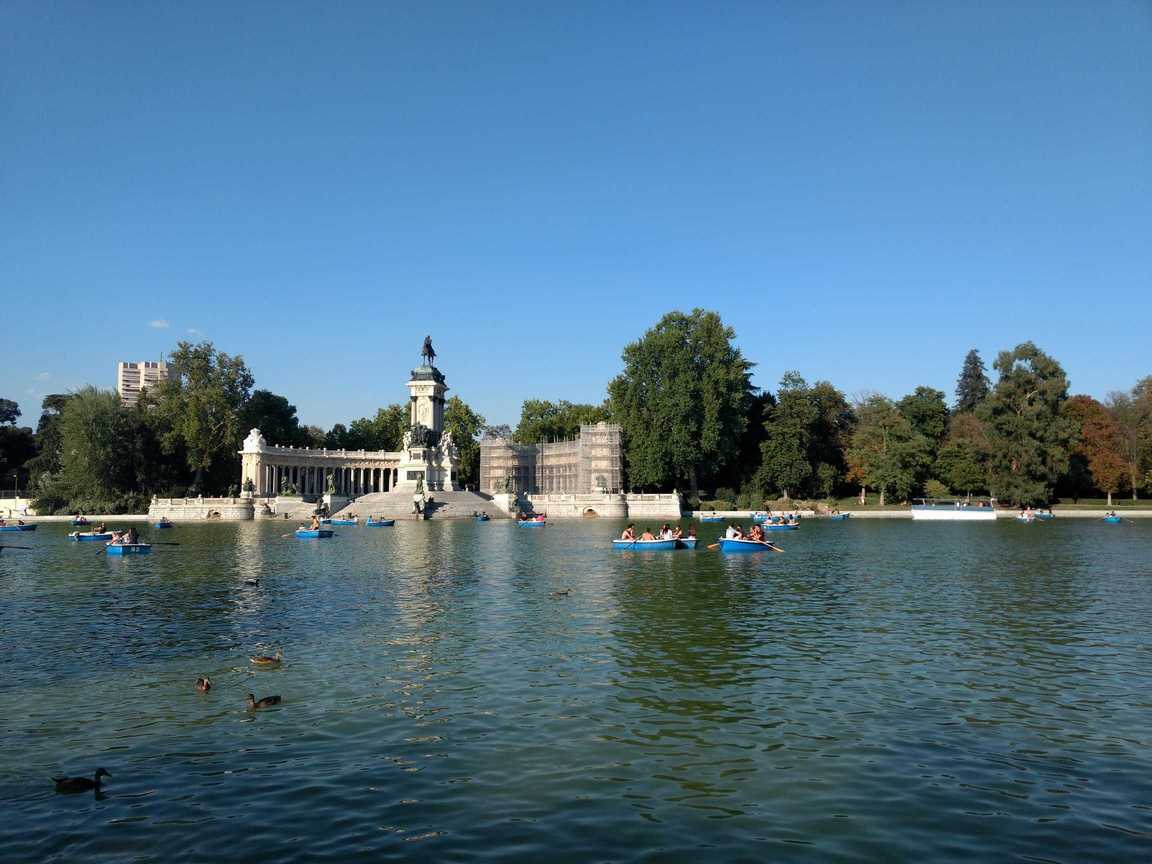
Having a few hours to kill before I had to catch my train, I roamed around Buen Retiro Park, one of Spain's largest public parks. It was a beautiful day, bright and sunny with the warmth balanced out by a light breeze.
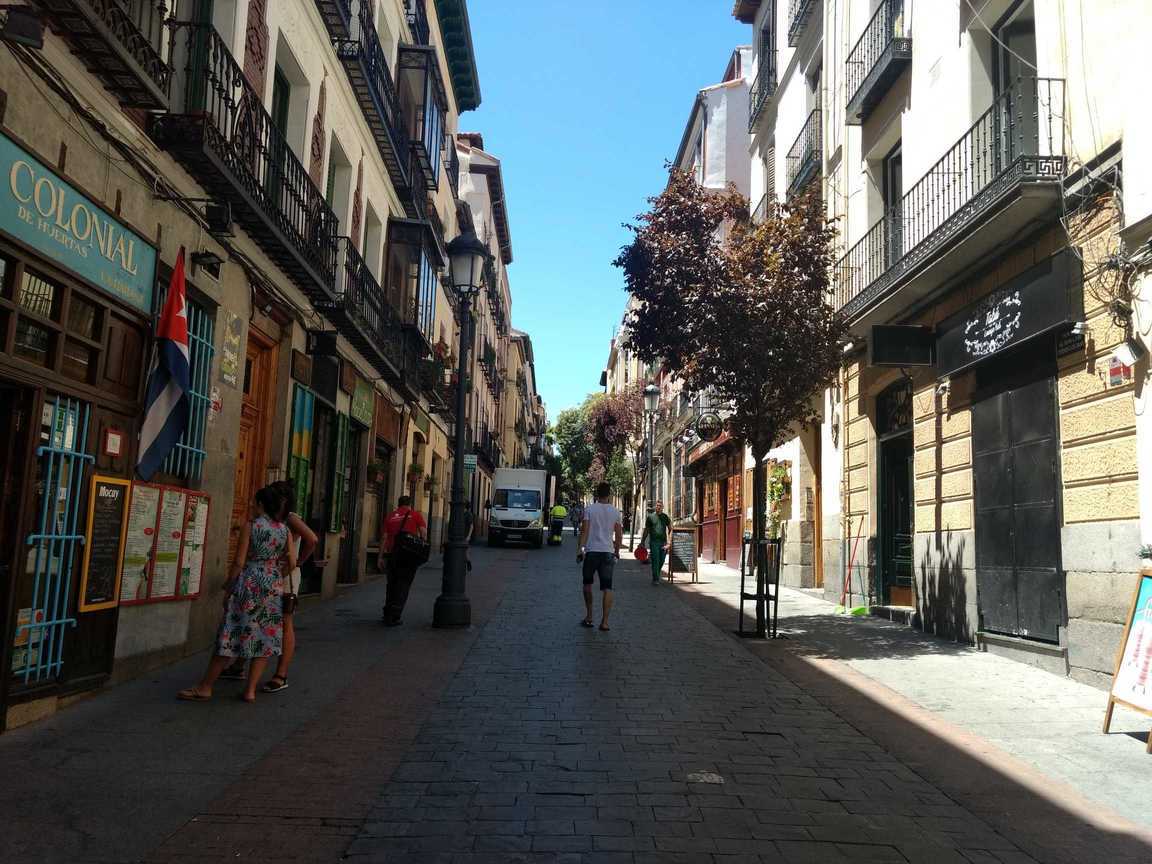
My heavy suitcase compelled me to walk slowly which made me take in as much as I could. Retiro Park is a popular stomping ground for joggers, skaters, and cyclists alike. Despite it being 11am on a weekday, I saw plenty of people jogging though the Park. After this, I trudged through some quaint neighbourhoods with cobbled roads and old apartment buildings dotted with small shops on the ground floor.
Maybe it was the sleep-deprivation or dehydration after a long flight, but everything felt so surreal! I had to pinch myself a few times - to believe that I had come thousands of miles from home and was actually travelling on my own in a foreign land.
I returned to Atocha and waited for my train. By this time, I came to realise that language was going to be a problem for this trip as very few people spoke English and my Spanish was limited to a few basic phrases - notably 'No hables Espanol' and 'Buenos Dias' :P Nevertheless, the kind folks at the station helped me find the train platform.
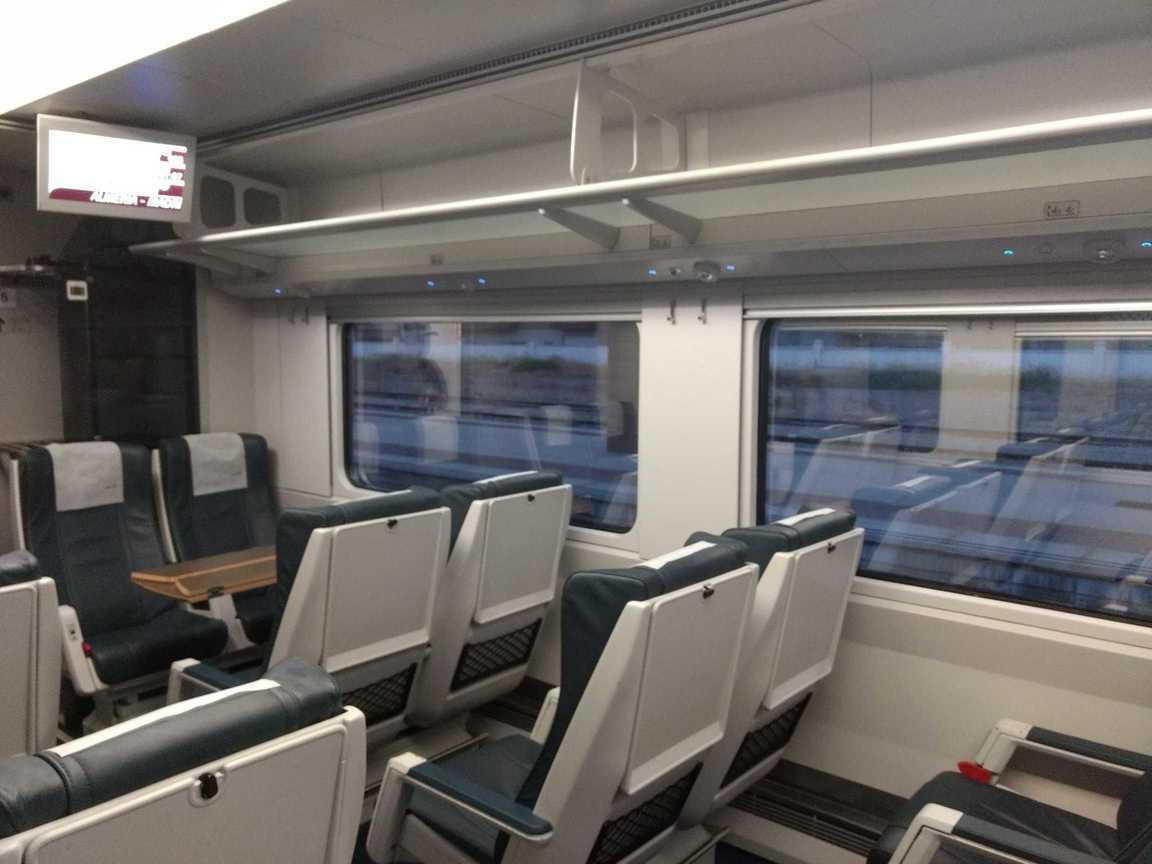
Trains in Spain are operated by state-owned train companies. In my case, I would be travelling on a Renfe train going till Almeria. The coaches are arranged in a 2-2 seating configuration, quite similar to those in airplanes, albeit with more legroom and charging ports. The speed of these trains is comparable to fast trains in India, with a top speed of about 160km/hr. The 700km journey was scheduled to take about 7 hours. There was plenty of scenery on the way with sloping mountain ranges and deserted valleys.
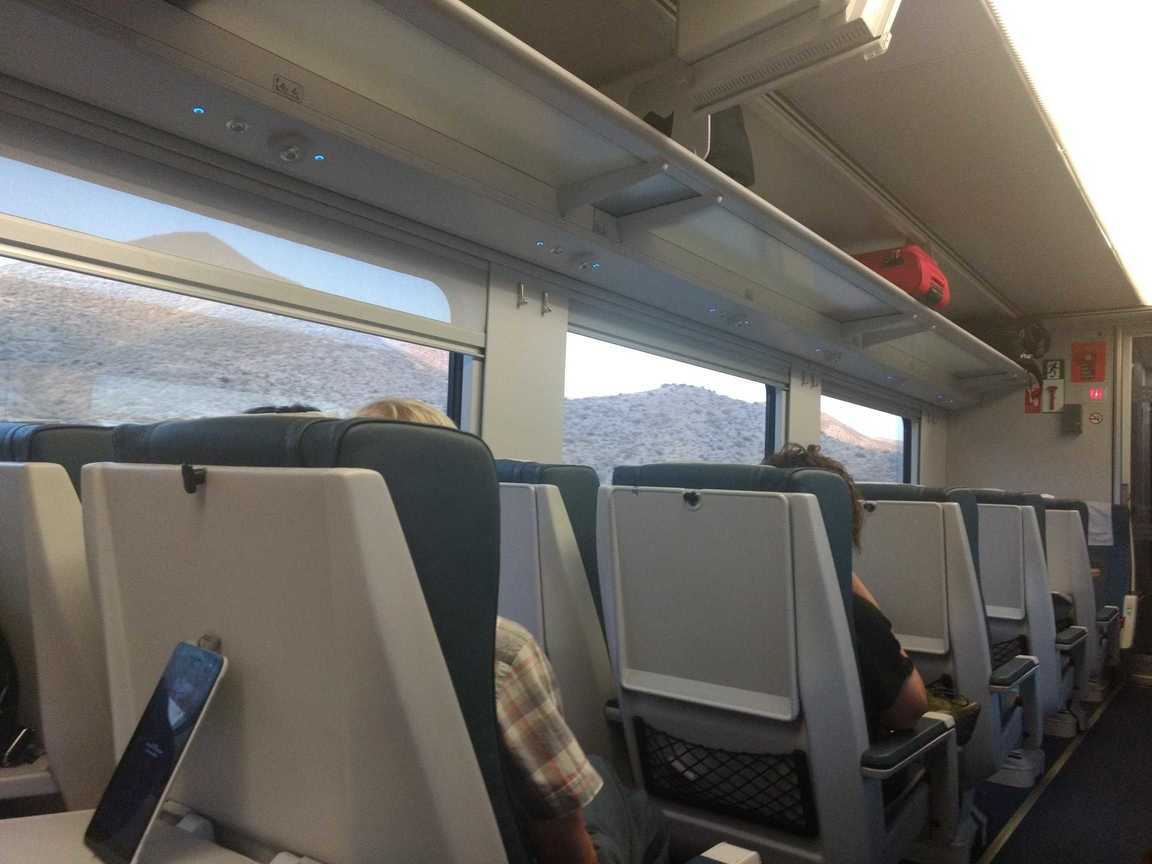
Big windows encouraged sightseeing
After seven hours, I reached the Almeria railway station at 10pm. According to Google Maps, Residencia Civitas, the hostel which KDE had booked for all the attendees was only 800m away - well within walking distance. However, unbeknownst to me, I started walking in the opposite direction (my phone doesn't have a compass!). This kept increasing the Google Maps ETA and only when I was 2km off track I realised something was very wrong. Fortunately, I managed to get a taxi to take me to Residencia Civitas - a university hostel where all the Akademy attendees would be staying for the week.
After checking in to Civitas, I made my way to the double room. Judging from the baggage and the shoes in the corner, someone had moved in here before I did. About half an hour later, I found out who - Rahul Yadav, a fourth year student at DTU, Delhi. Exhausted after an eventful day of travel, I switched off the lights and went to sleep.
The Conference
The next day, I got to see other the Akademy attendees over breakfast at Civitas. In all, there were about 60-70 attendees, which I was told was slightly smaller than previous years.
The conference was held at University of Almería, located a few kilometres from the hostel. KDE had hired a public bus for transport to and from the hostel for all the days of the conference. The University was a stone's throw from the Andalusian coastline. After being seated in one of the larger lecture halls, Akademy 2017 was underway.
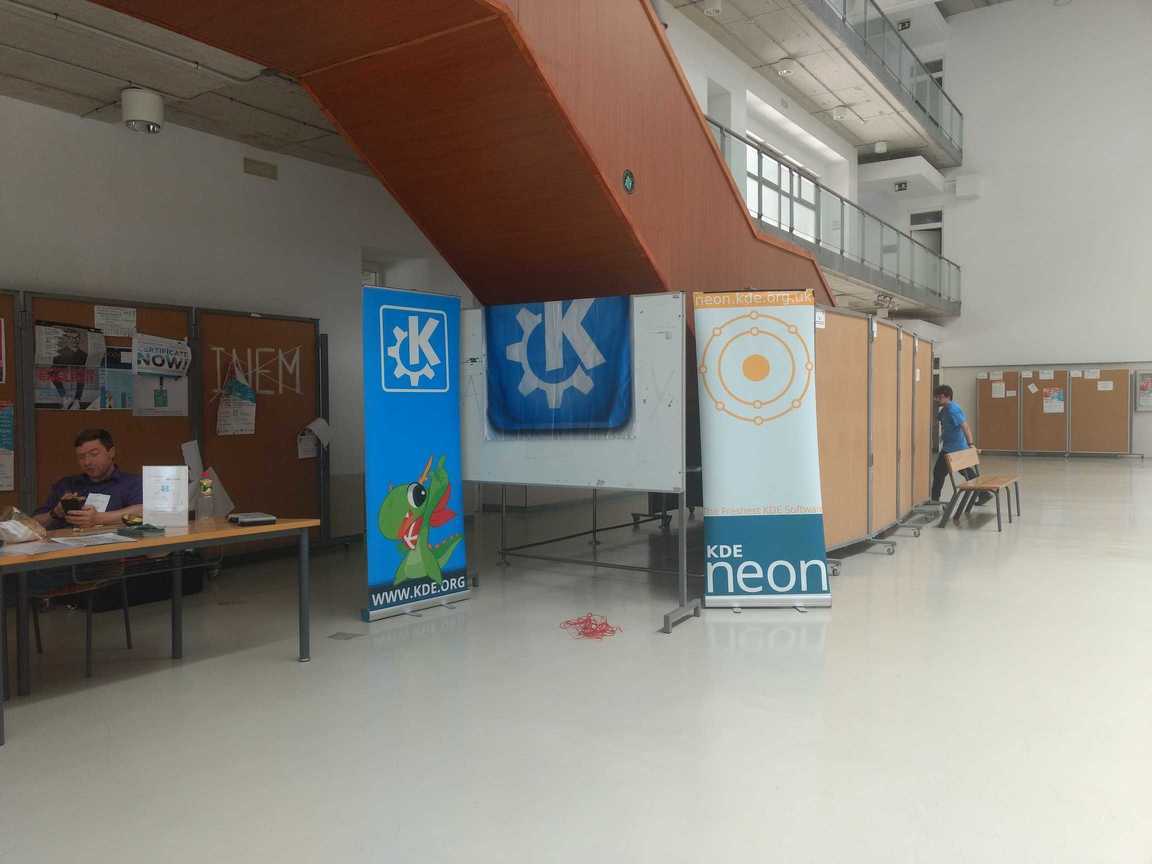
Konqi! And KDE Neon!
The keynote talk was by Robert Kayne of Metabrainz, about the story of how MusicBrainz was formed out of the ashes of CDDB. The talk set the tone for the first day of Akademy.
The coffee break after the first two talks was much needed. I was grappling with sleep deprivation and jet lag from the last two days and needed all the caffeine and sugar I could get to keep myself going for the rest of the day. Over coffee, I caught up with some KDE developers I met at QtCon.
Throughout the day, there were a lot of good talks, notably 'A bit on functional programming', and five quick lightning talks on a variety of topics. Soon after this, it was time for my very own talk - 'An Introduction to the KIO Library'.
The audience for my talk consisted of developers with several times my experience. Much to my delight, the maintainer of the KIO Library, David Faure was in the audience as well!
Here's where I learned another thing about giving presentations - they never quite go as well as it seems to go when rehearsed alone. I ended up speaking faster than I planned to, leaving more than enough time for a QA round. Just as I was wary about, I was asked some questions about the low-level implementation of KIO which thankfully David fielded for me. I was perspiring after the presentation, and it wasn't the temperature which was the problem 😅 A thumbs up from David afterwards gave me some confidence that I had done alright.
Following this, I enjoyed David Edmundson's talk about Binding properties in QML. The next presentation I attended after this is where things ended up getting heated. Paul Brown went into detail about everything wrong with Kirigami's TechBase page. This drew some, for lack of a better word, passionate people to retaliate. Though it was it was only supposed to be a 10 minute lightning talk, the debate raged on for half-an-hour among the two schools of thought of how TechBase documentation should be written. The only thing which brought the discussion to an end was the bus for returning to Civitas leaving sharp at 8pm.
Still having a bit of energy left after the conference, I was ready to explore this Andalusian city. One thing which worked out nicely on this trip is the late sunset in Spain around this time of the year. It is as bright as day even at around 9pm and the light only starts waning at around 930pm. This gave Rahul and me plenty of time to head to the beach, which was about a 20 minute walk from the hostel.
Here, it struck me how much I loved the way of life here.
Unlike Madrid, Almeria is not a known as a tourist destination so most of the people living there were locals. In a span of about half an hour I watched how an evening unfolds in this city. As the sun started dipping below the horizon, families with kids, college couples, and high-school friends trickled from the beach to the boardwalk for dinner. A typical evening looked delightfully simple and laid-back in this peaceful city.
The boardwalk had plenty of variety on offer - from seafood to Italian cuisine. One place caught my eye, a small cafe with Doner Kebab called 'Taj Mahal'. After a couple of days of eating nothing but bland sandwiches, Rahul and I were game for anything with a hint of spice of it. As I had done in Madrid, I tried ordering Doner Kebab using a mixture of broken Spanish and improvised sign language, only to receive a reply from the owner in Hindi! It turned out that the owner of the restaurant was Pakistani and had migrated to Spain seven years ago. Rahul made a point to ask for more chilli - and the Doner kebabs we got were not lacking in spice. I had more chilli in that one kebab than I normally would have had in a week. At least it was a change from Spanish food, which I wasn't all that fond of.
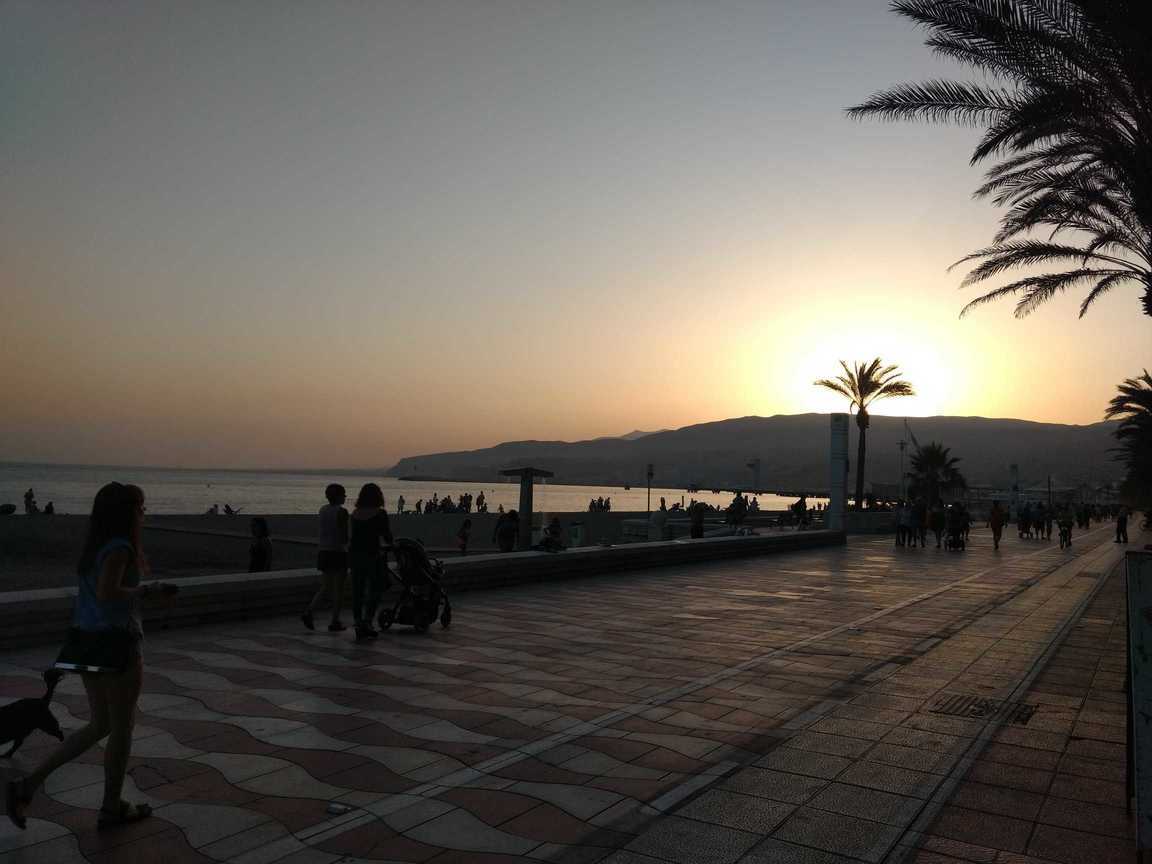
View from the boardwalk
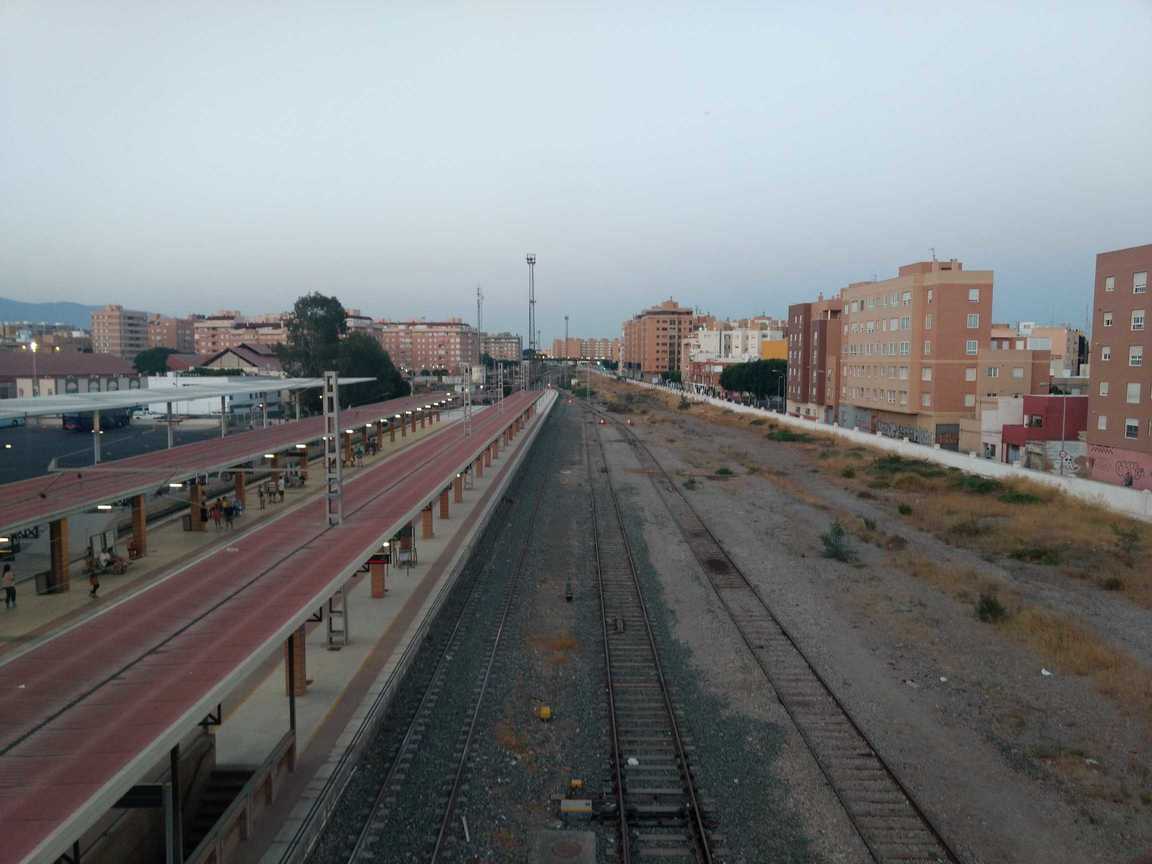
The next day was similar to the first, only a lot more fun. I spent a lot amount of time interacting with the people from KDE India. I also got to know my GSoC mentor, Boudhayan Gupta (@BaloneyGeek). The talks for this day were as good as the ones yesterday and I got to learn about Neon Docker images, the story behind KDE's Slimbook laptop, and things to look forward to in C++17/20.
The talks were wrapped up with the Akademy Awards 2017.
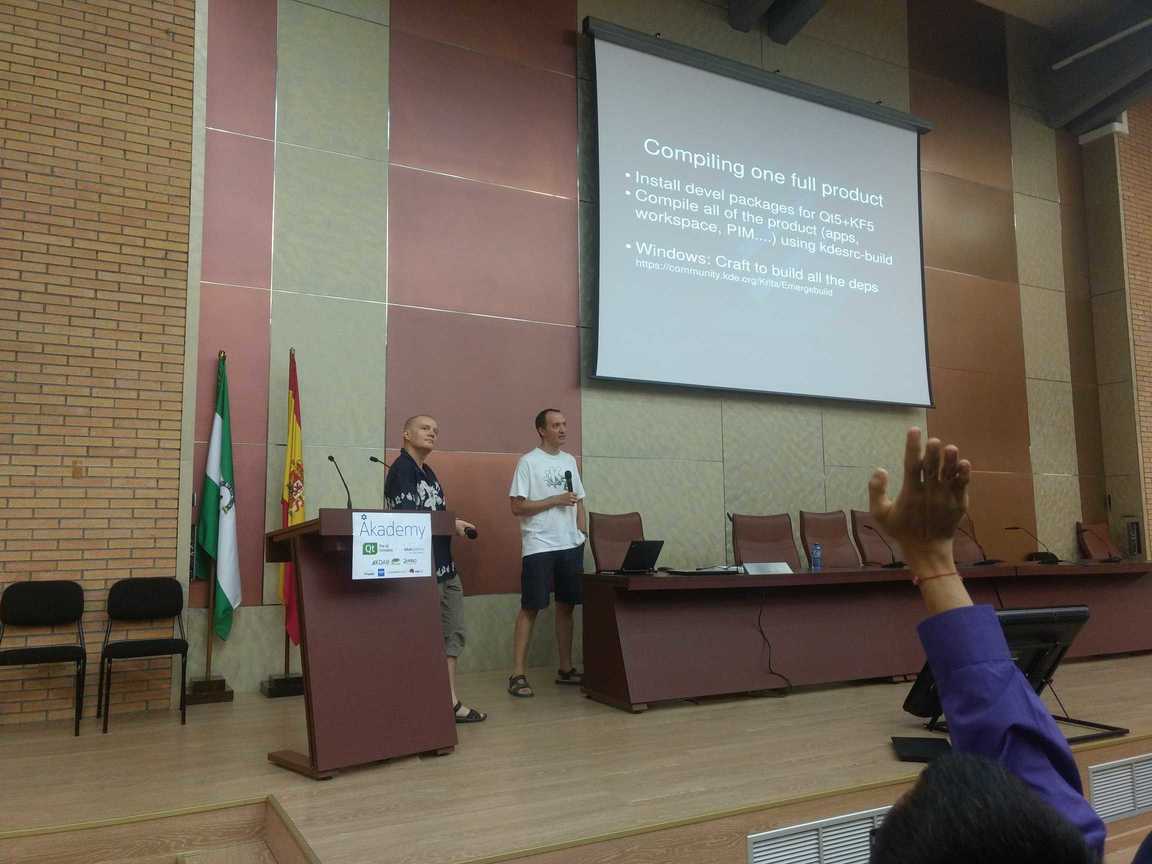
David Faure and Kevin Ottens
There were still 3 hours of sunlight left after the conference and not being ones to waste it, we headed straight for the beach. Boudhayan and I made a treacherous excursion out to a rocky pier covered with moss and glistening with seawater. My well-worn sandels were the only thing keeping me from slipping onto a bunch of sharply angled stones jutting out from the waves. Against my better judgement, I managed to reach the end of the pier only to see a couple of crabs take interest in us. With the tide rising and the sun falling, we couldn't afford to stay much longer so we headed back to the beach just as we came. Not long after, I couldn't help myself and I headed into the water with enthusiasm I had only knew as a child. Probably more so for BaloneyGeek though, who headed in headfirst with his three-week-old Moto G5+ in his pocket (Spoiler: the phone was irrevocably damaged from half a minute of being immersed in saltwater). In the midst of this, we found a bunch of KDE folks hanging out on the beach with several boxes of pizza and bottles of beer. Free food!
Exhausted but exhilarated, we headed back to Civitas to end another very memorable day in Almeria.
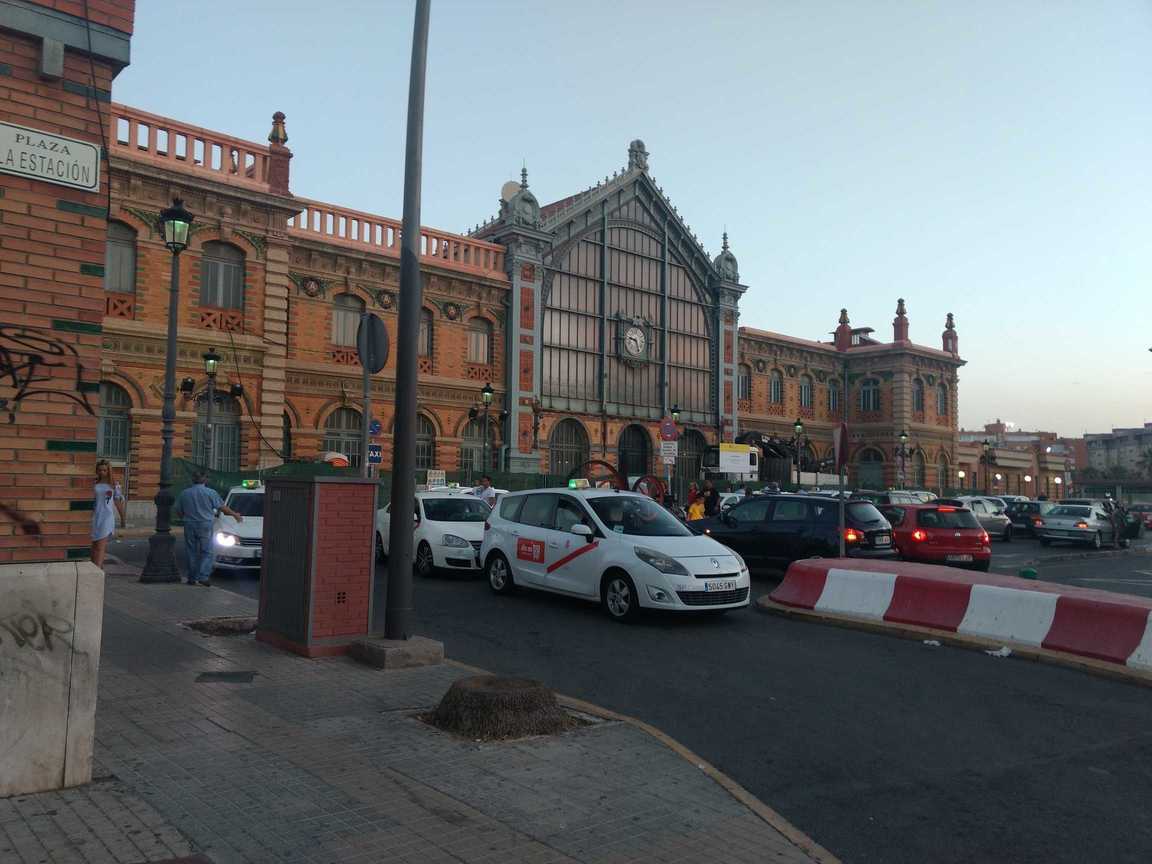
Estacion Intermodal, a hub for public transport in Almeria
With the talks completed, Akademy 2017 moved on to its second leg, which consisted more of BoFs (Birds of a Feather) and workshops.
The QML workshop organised by Anu was timely as my relationship with QML has been hot and cold. I would always go in circles with the QML Getting Started tutorials as there aren't as many examples of how to use QtQuick 2.x as there are with say, Qt Widgets. I understood how to integrate JavaScript with the QML GUI and I will probably get around to making a project with the toolkit when I get the time. Paul Brown held a BoF about writing good user documentation and deconstructed some more pretentious descriptions of software with suggestions on how to avoid falling into the same pitfalls. I sat on a few more BoFs after this, but most of the things went over my head as I wasn't contributing to the projects discussed there.
Feeling a bit weary of the beach, Rahul and I decided to explore the inner parts of the city instead. We planned to go to the Alcazaba of Almeria, a thousand-year-old fortress in the city. On the way, we found a small froyo shop and ordered a scoop with chocolate sauce and lemon sauce. Best couple of euros spent ever! I loved the tart flavour of the froyo and how it complemented the toppings with its texture.
This gastronomic digression aside, we scaled a part of the fort only to find it locked off with a massive iron door. I got the impression that the fort was rarely ever open to begin with. With darkness fast approaching, we found ourselves in a dodgy neighbourhood and we tried to get out as fast as we could without drawing too much attention to ourselves. This brought an end to my fourth night in Almeria.
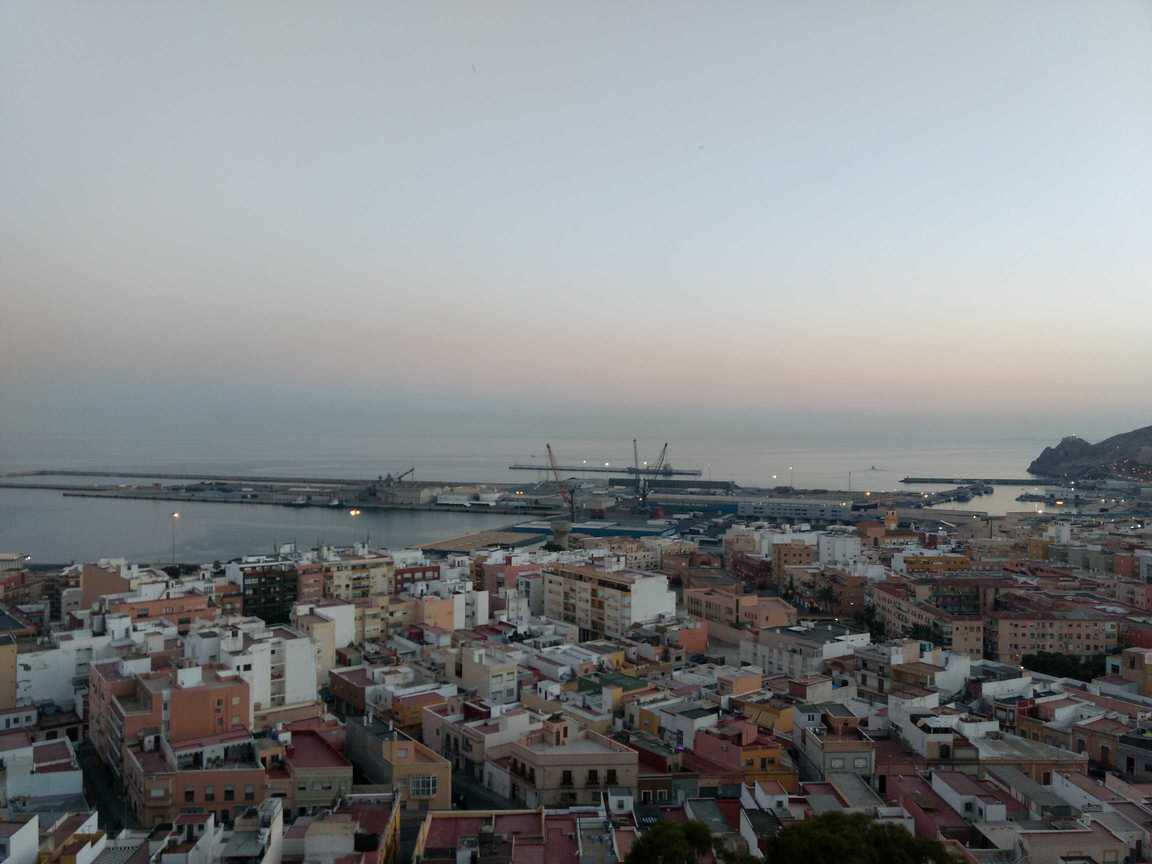
View from Alcazaba
The BoFs continued throughout the 25th, the last full day of Akademy 2017. I participated in the GSoC BoF where KDE's plans for future GSoCs, SoKs, and GCIs were discussed (isn't that a lot of acronyms!). Finally, this was one topic where I could contribute to the discussion. If there was any takeaway from the discussion for GSoC aspirants, it is to start as early as you can!
I sat on some other BoFs as well, but most of the discussed topics were out of my scope. The Mycroft and VDG BoF did have some interesting exchange of ideas for future projects that I might consider working on if I get free time in the future.
Rahul was out in the city that day, so I had the evening to explore Almeria all by myself.
I fired up Google Maps to see anything of interest nearby. To the west of the hostel was a canal I hadn't seen previously so I thought it would be worth a trip. Unfortunately, because of my poor navigation skills and phone's lack of compass, I ended up circling a flyover for a while before ditching the plan. I decided to go to the beach as a reference point and explore from there.
What was supposed to be a reference point ended up becoming the destination. There was still plenty of sunlight and the water wasn't too cold. I put one toe in the water, and then a foot.
And then, I ran.
Running barefoot alone the coastline was one of the best memories I have of the trip. For once, I didn't think twice about what I was doing. It was pure liberation. I didn't feel the exertion or the pebbles pounding my feet.
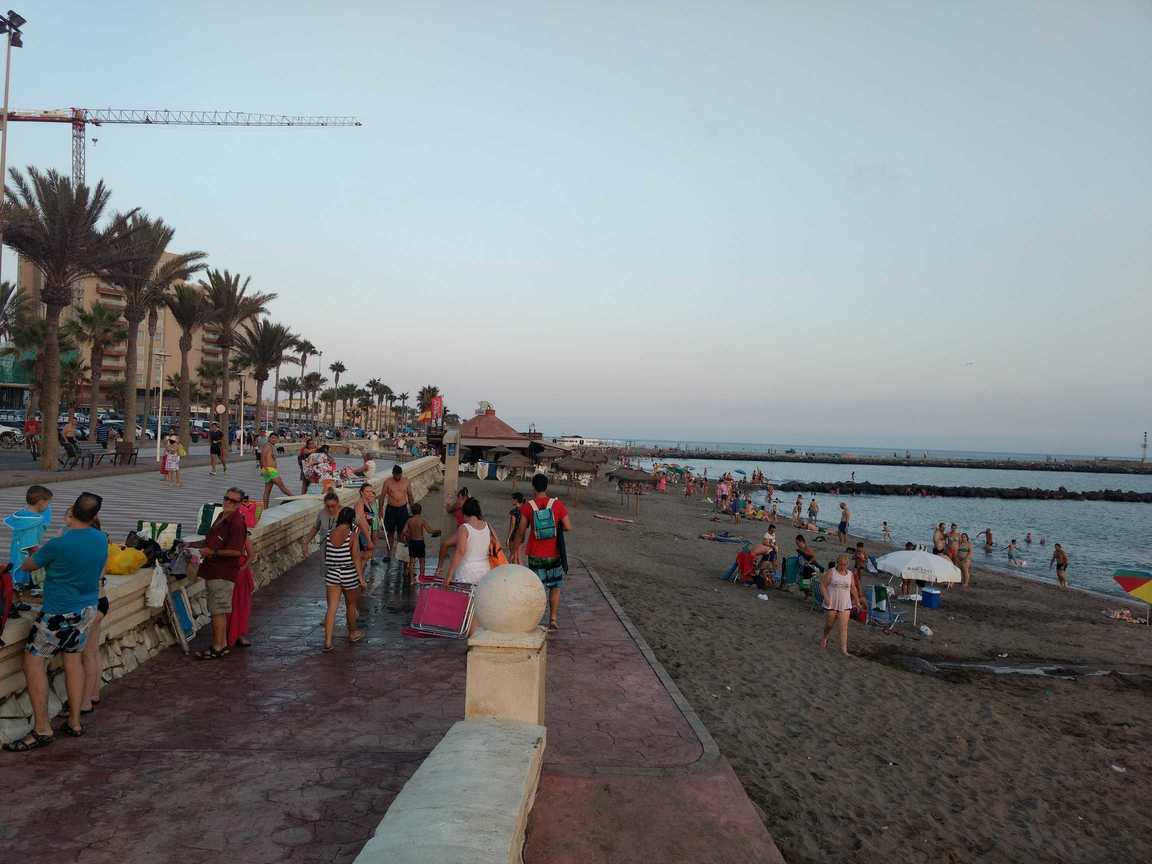
Almeria's Beaches
The end of the coastline had a small fort and a dirt trail which I would've very much wanted to cycle on. After watching the sun sink into the sea, I ran till the other end of the boardwalk to find an Italian restaurant with vegetarian spinach spaghetti. Served with a piece of freshly baked bread, dinner was delicious and capped off yet another amazing day in Almeria.
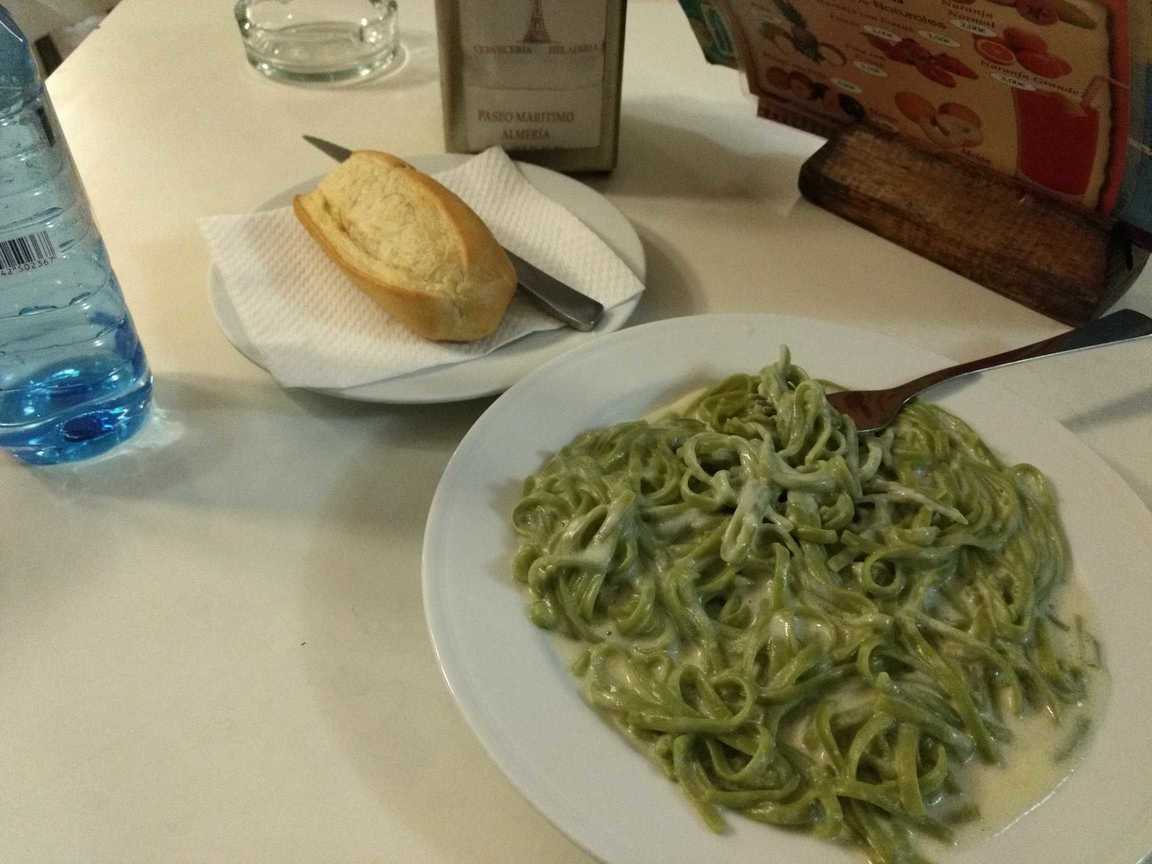
Dinner time!
Day Trip
The 26th was the final day of the conference. Unlike the other days, the conference was only for half a day with the rest of the day kept aside for a day trip. I cannot comment on how the conference went on this day as I had to rush back to the hostel to retrieve my passport, which was necessary to attend the day trip.
Right around 2 in the afternoon we boarded the bus for the day trip. Our first stop was the Plataforma Solar de Almería, a solar energy research plant in Almeria. It houses some large heliostats for focussing sunlight at a point on a tower. This can be used for heating water and producing electricity.
There was another facility used for testing the tolerance of spacecraft heat shields by subjecting them to temperatures in excess of 2000C by focussing sunlight.
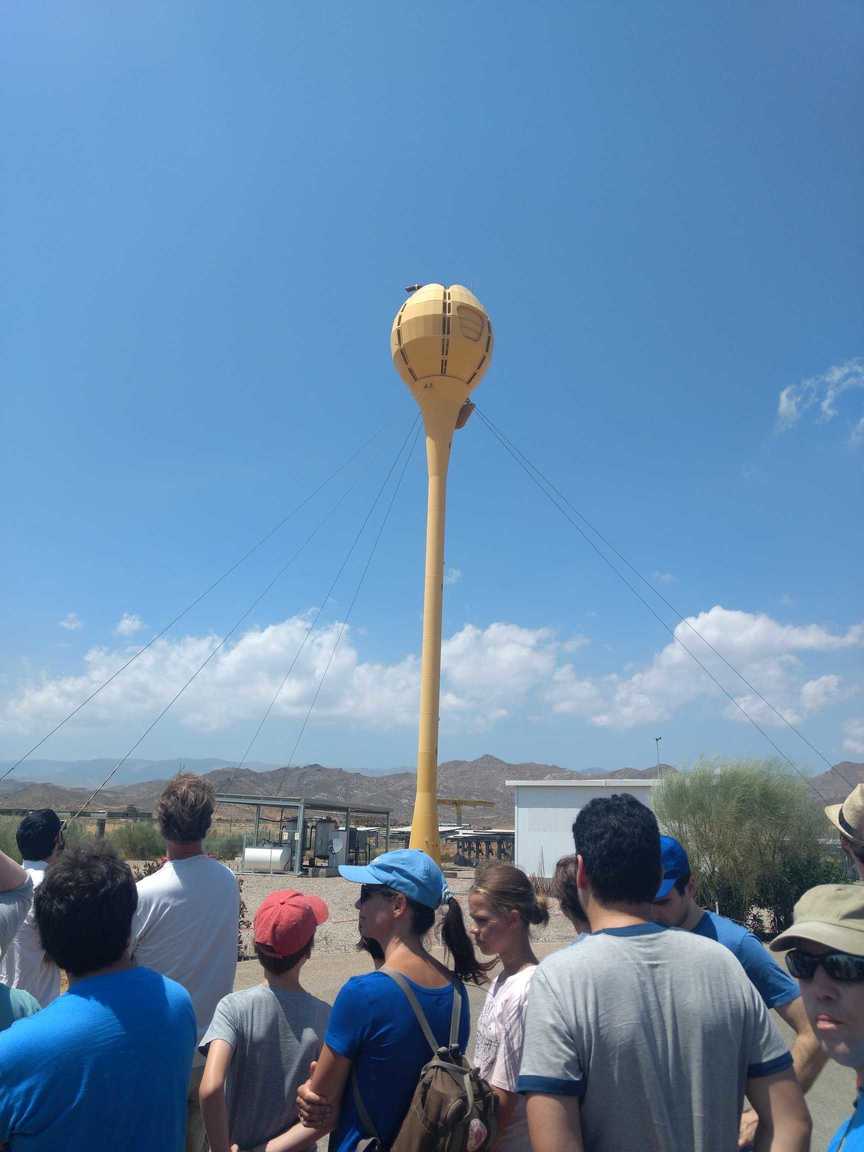
Heliostats focus at the top of the tower
The next stop was at the San José village. Though not too far from Almeria, the village is frequented by tourists much more than Almeria is and has a very different vibe. The village is known for its beaches, pristine clear waters, and white buildings. I was told that the village was used in the shooting of some films such as The Good, The Bad, and The Ugly.
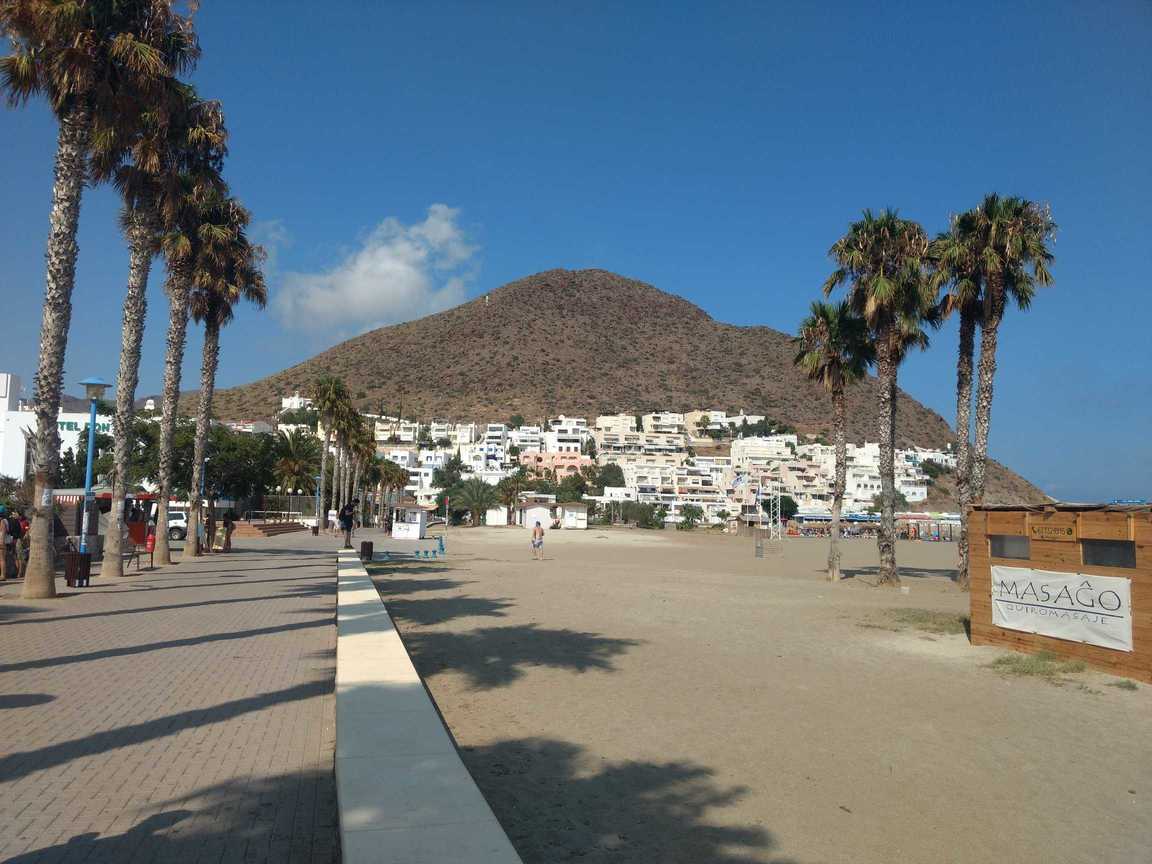
Our final stop for the day was at the Rodalquilar Gold Mine. Lost to time, the mine had been shut down in 1966 due to the environmental hazards of using cyanide in the process to sediment gold. The mine wouldn't have looked out of place in a video-game or an action movie, and indeed, it was used in the filming of Indiana Jones and the Last Crusade. There was a short trek from the base of the mine to a trail which wrapped around a hill. After descending from the top we headed back to the hostel.
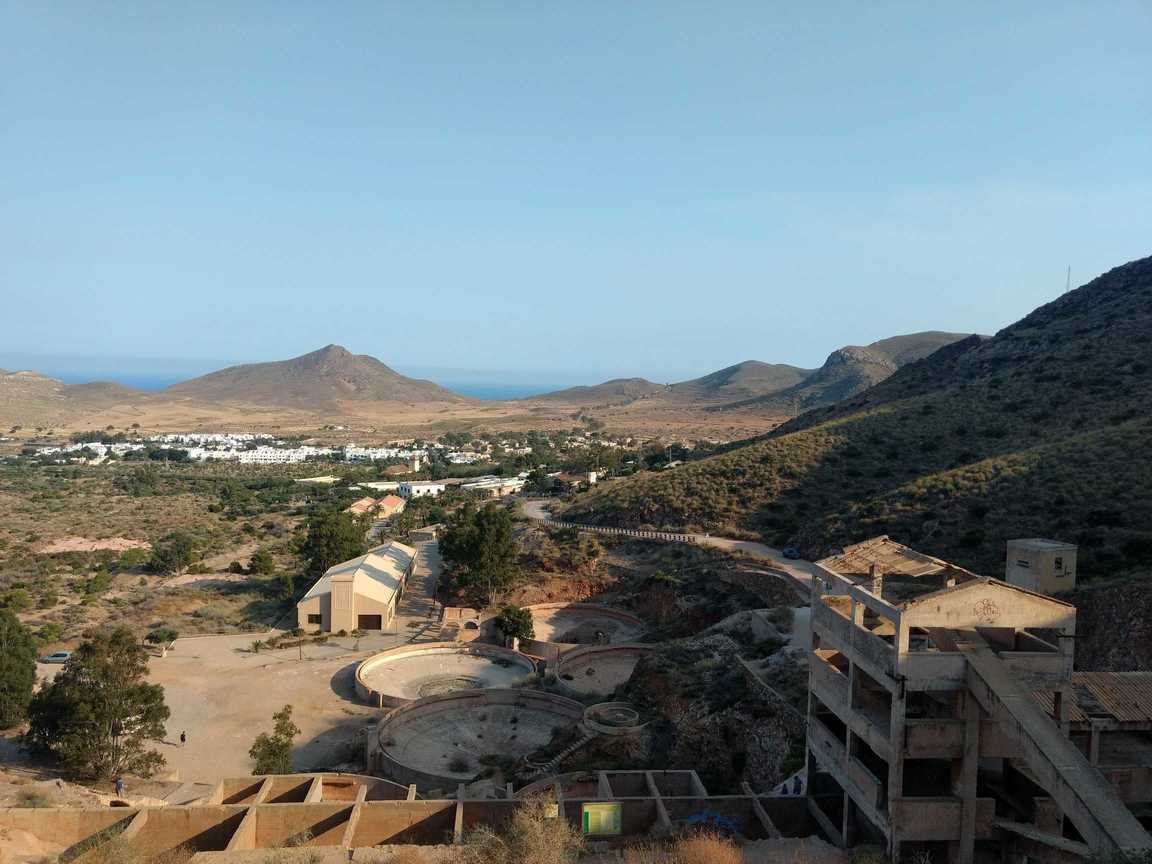
This concluded my stay in Almeria.
Madrid
After checking out of the hostel early the next morning, I caught a train to Madrid. I had a day in the city before my flight to Bangalore the next day.
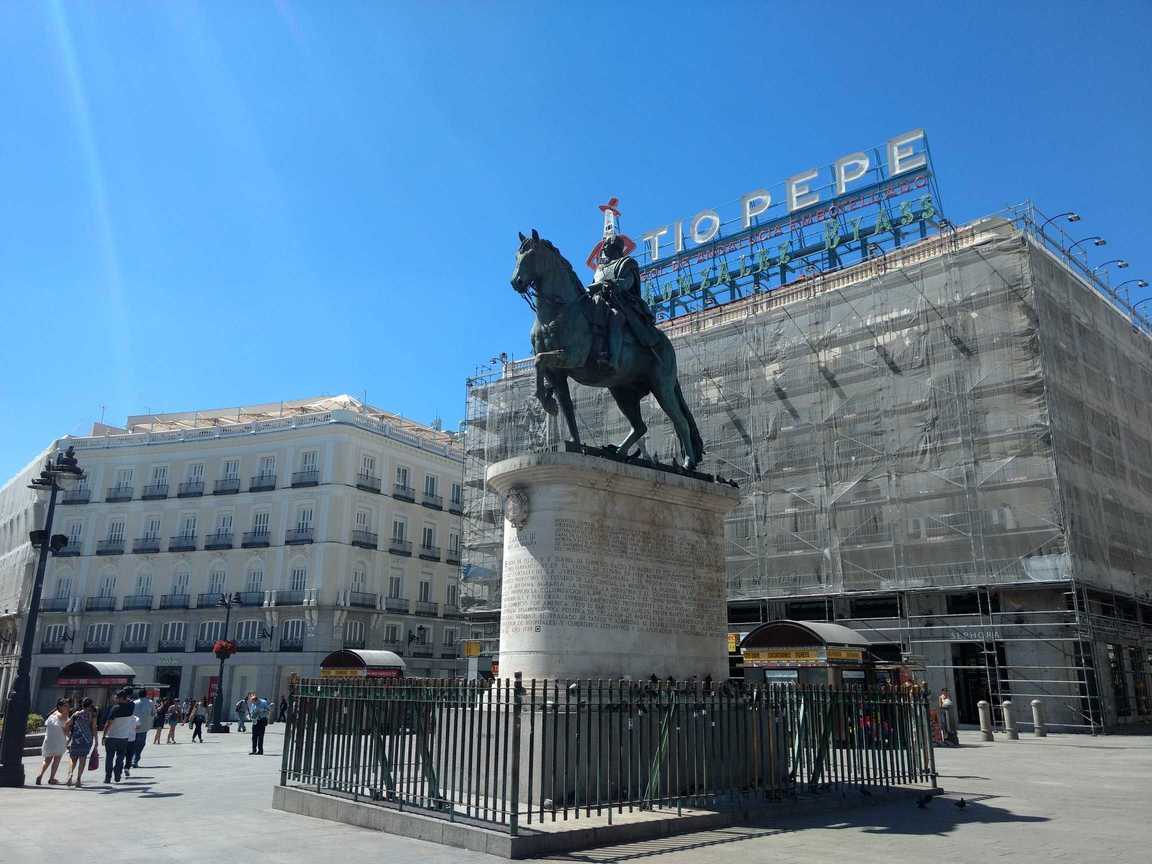
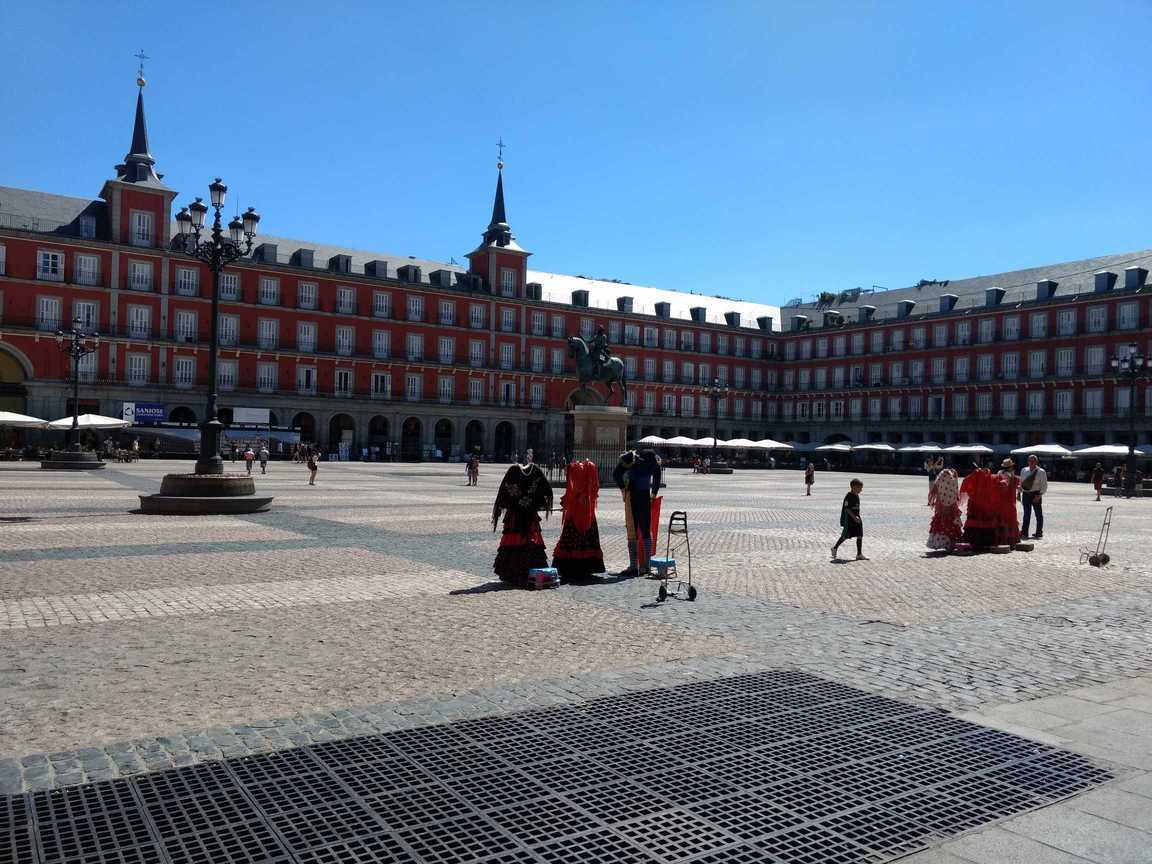
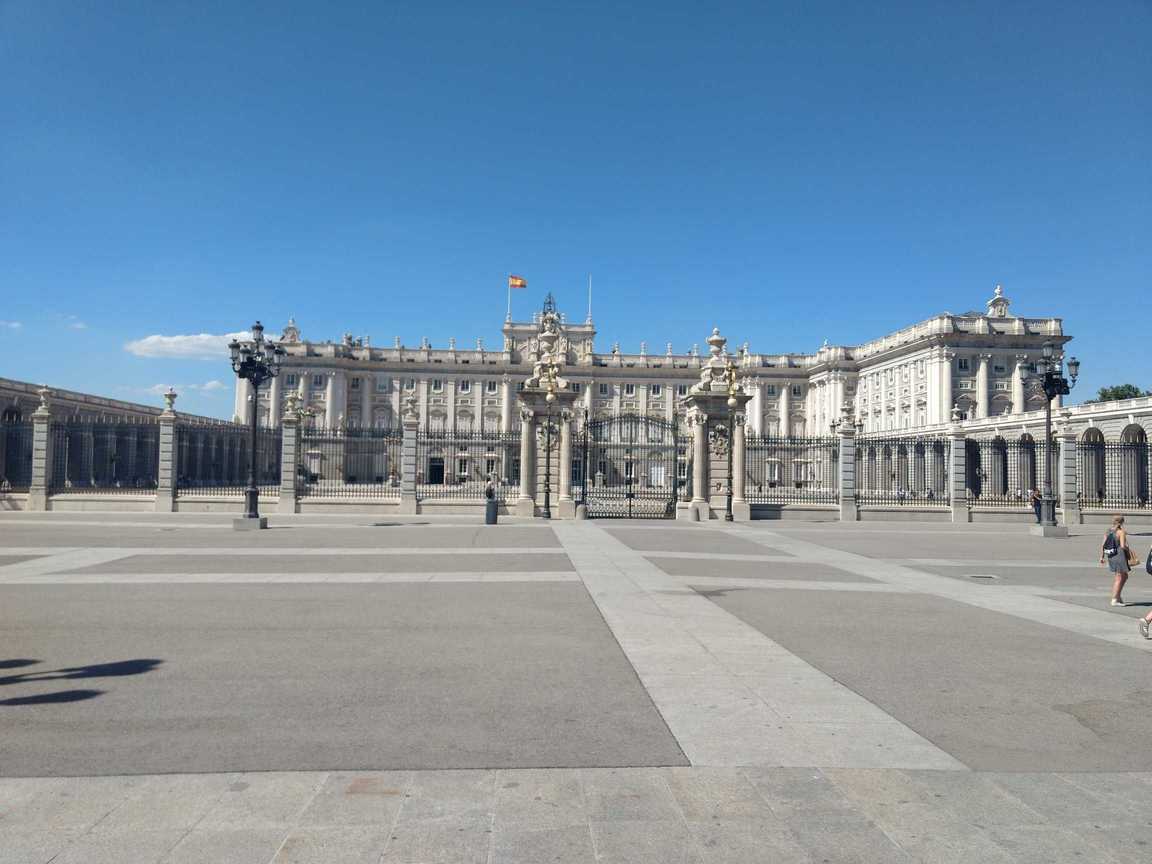
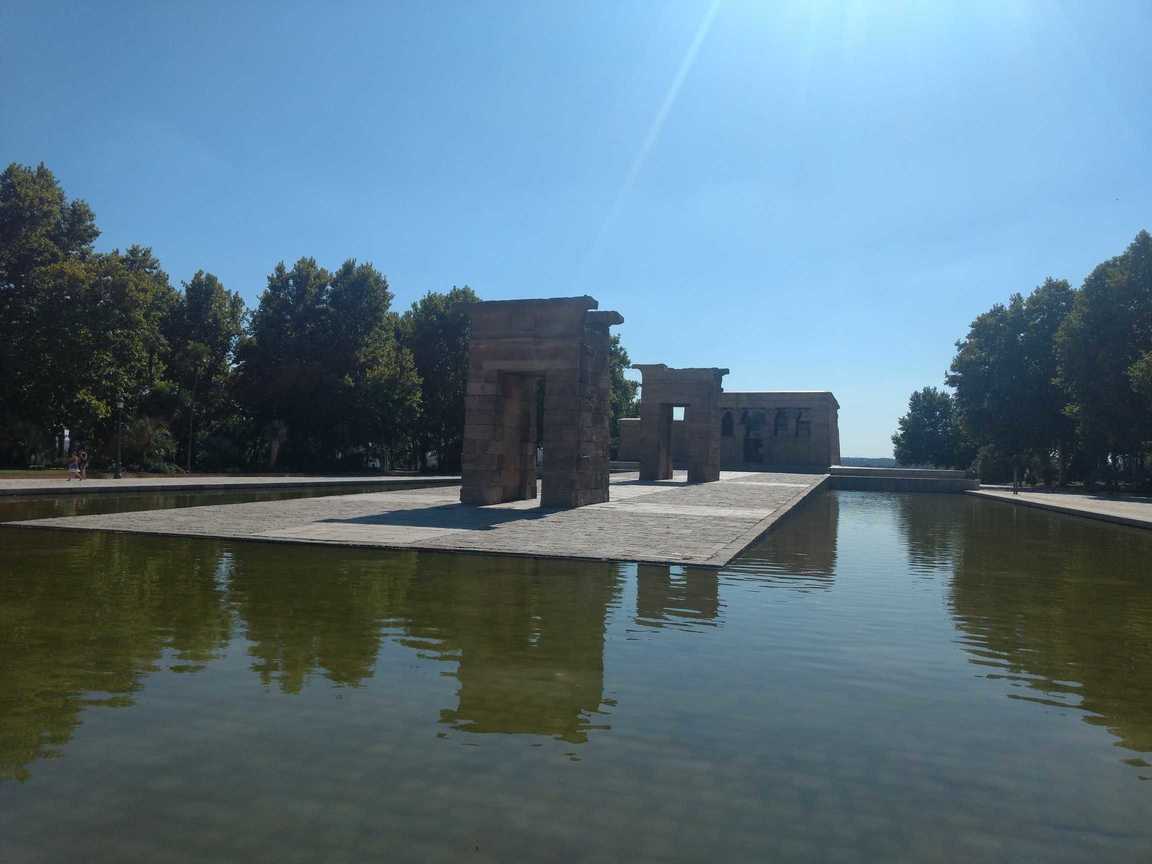
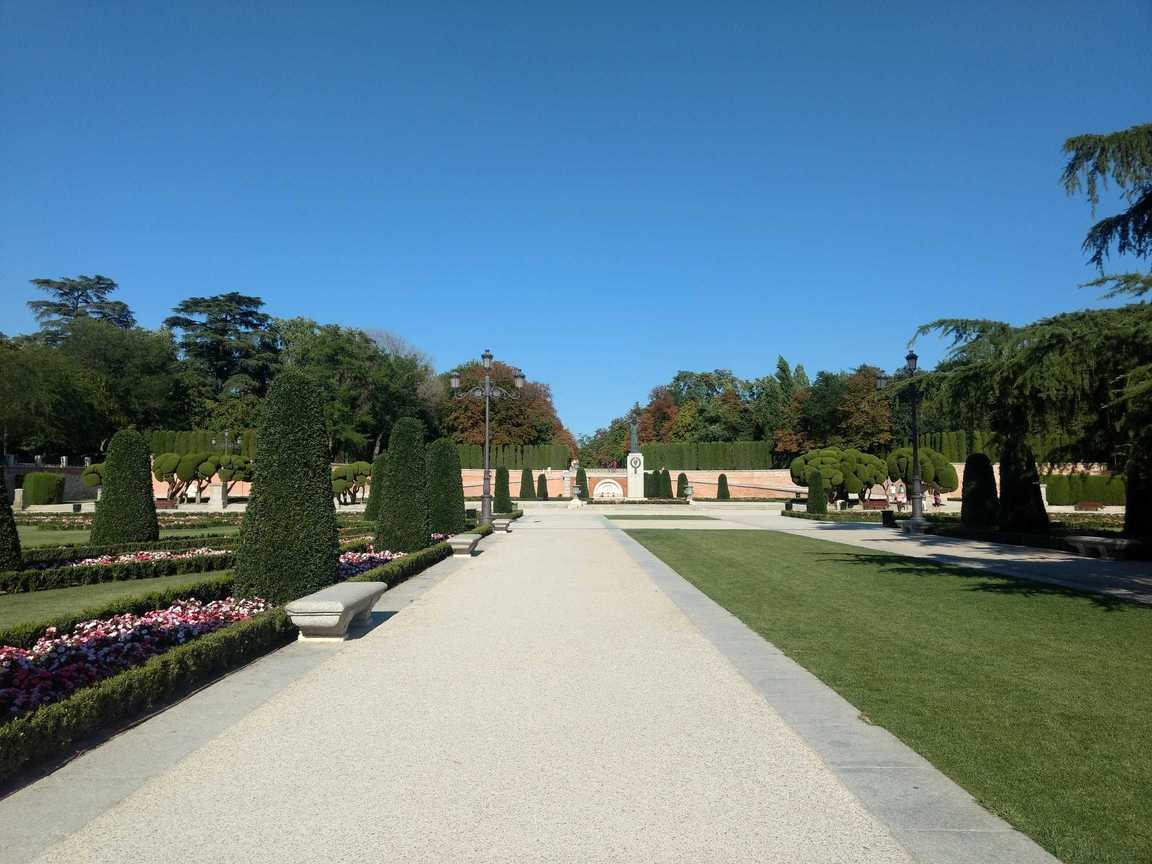
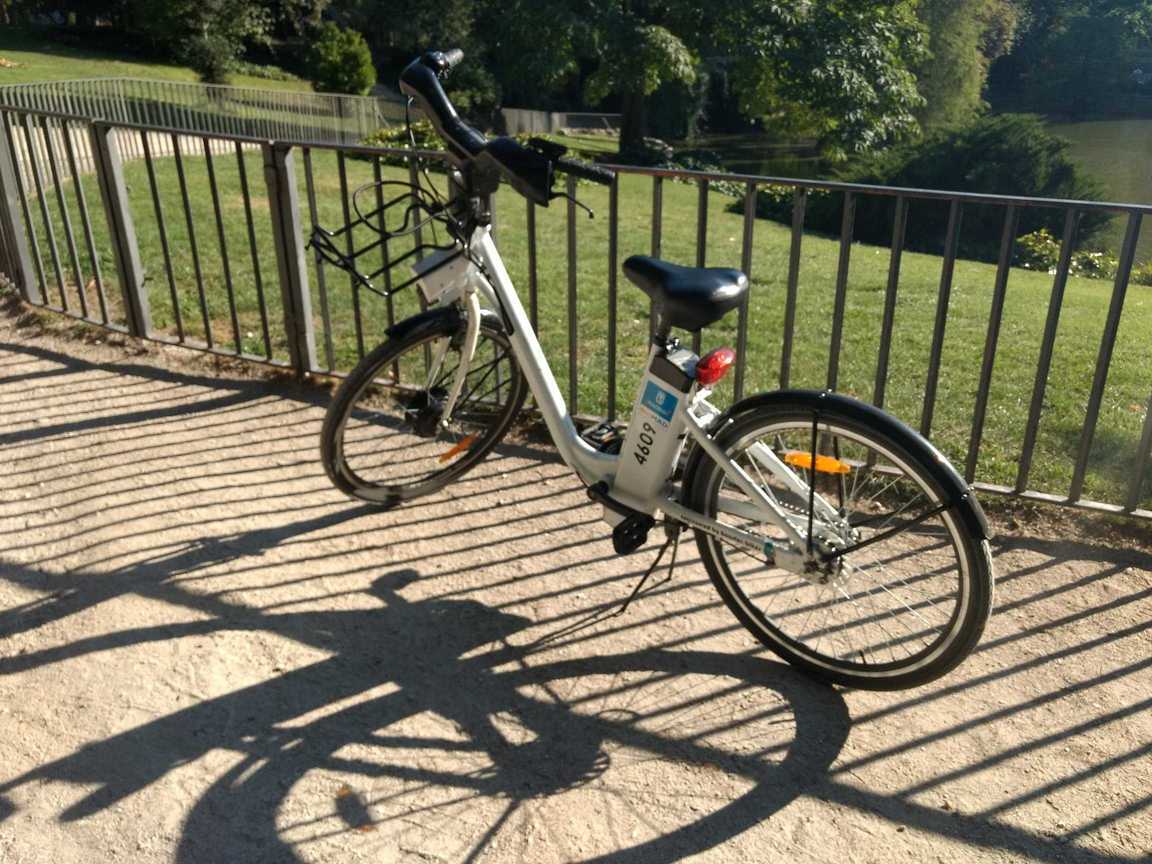
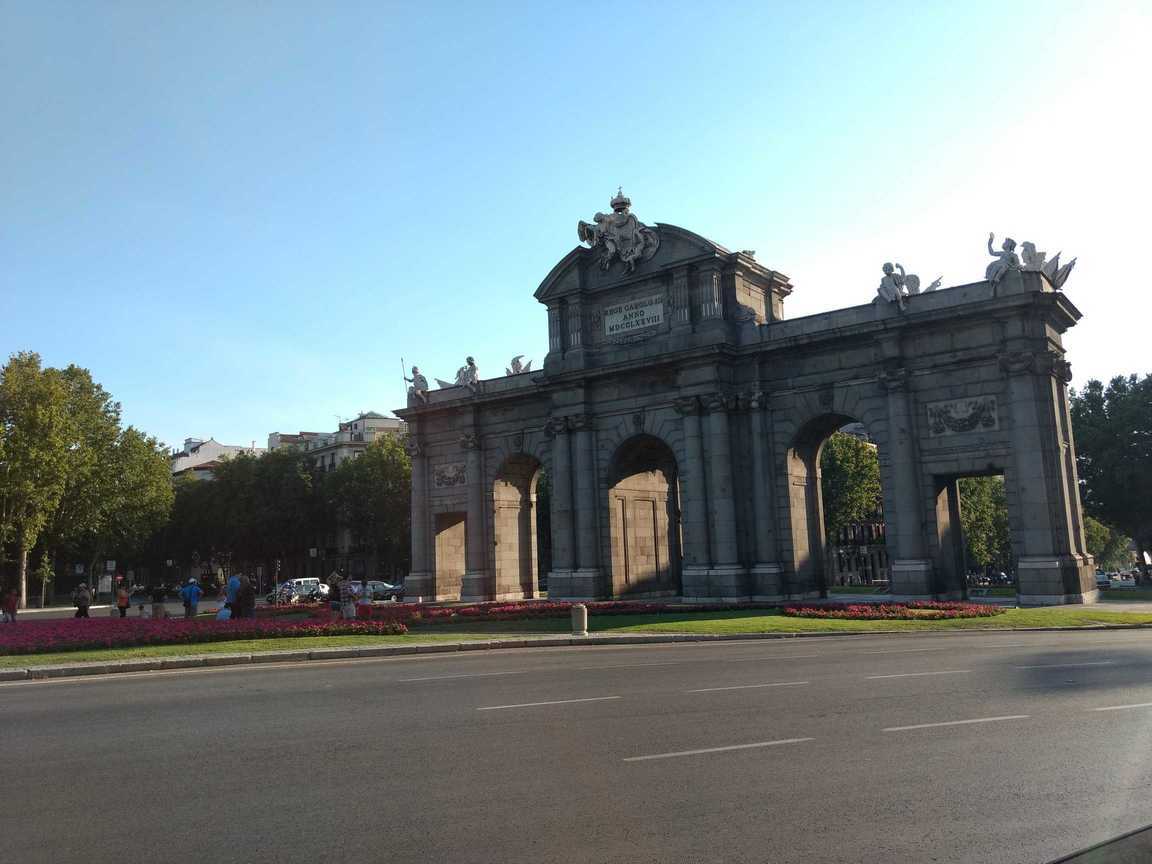
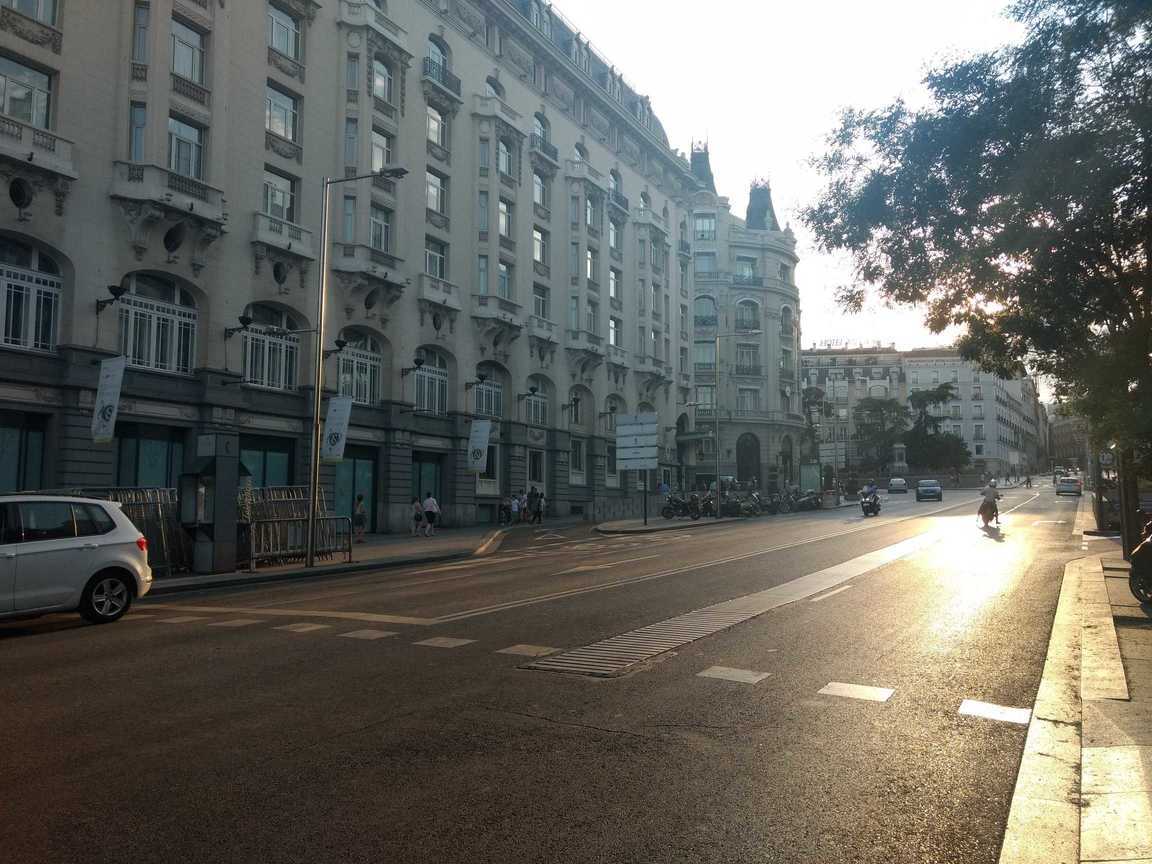
I reached Atocha at about 2 in the afternoon and checked in to a hotel. I spent the entire evening exploring Madrid on foot and an electric bicycle through the BiciMAD rental service.
Photo Dump
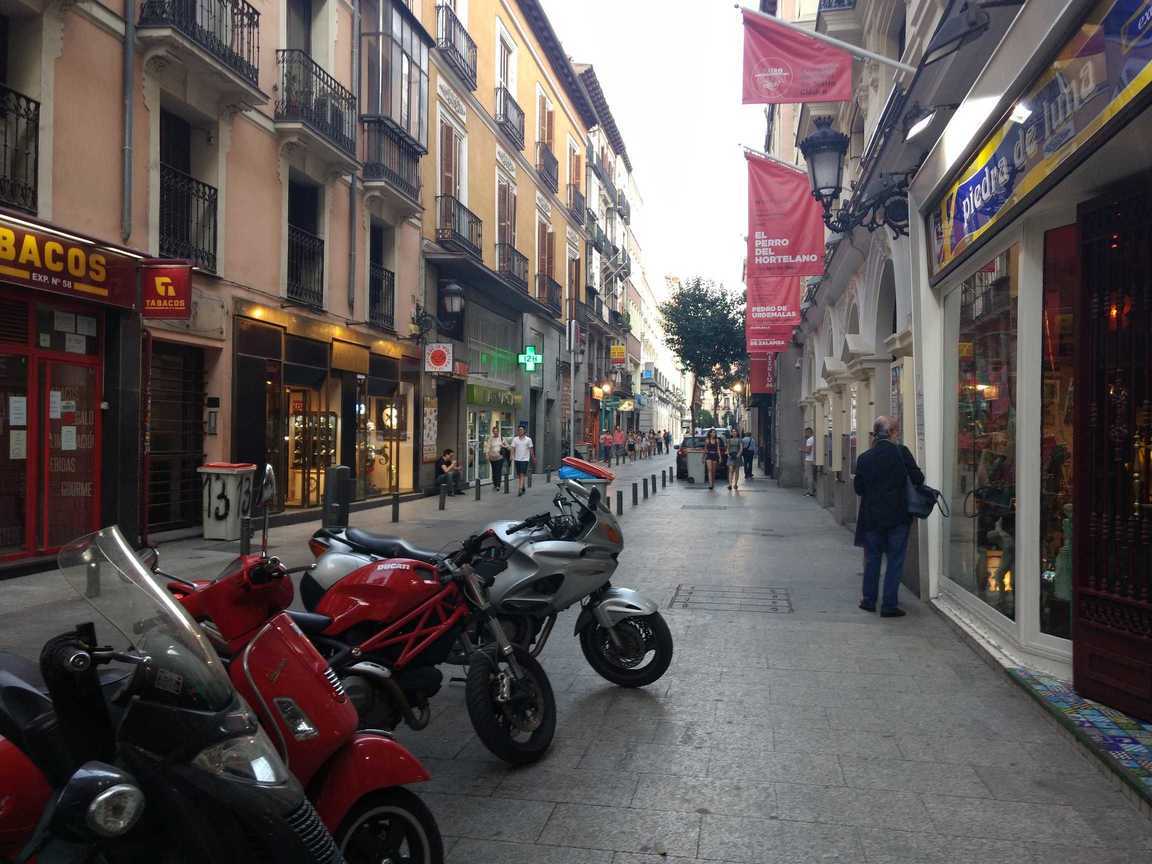
The Return
My flight back home was on the following morning, on the 28 July. The first leg of the return was yet again, on an Etihad aircraft bound for Abu Dhabi. This time it was an A330-300. It was an emotional 8 hour long flight - with the memories of Akademy still fresh in my mind. To top it off, I finished EarthBound (excellent game!) during the flight.
Descent into Abu Dhabi started about half an hour before landing. This time though, I got to see the bizarre Terminal 1 dome of the Abu Dhabi airport. The Middle East has always been a mystical place for me. The prices of food and drink in the terminal were hard to stomach - 500mL of water was an outrageous 8 UAE Dirhams (₹140)! Thankfully it wasn't a very long layover, so I didn't have to spend too much.
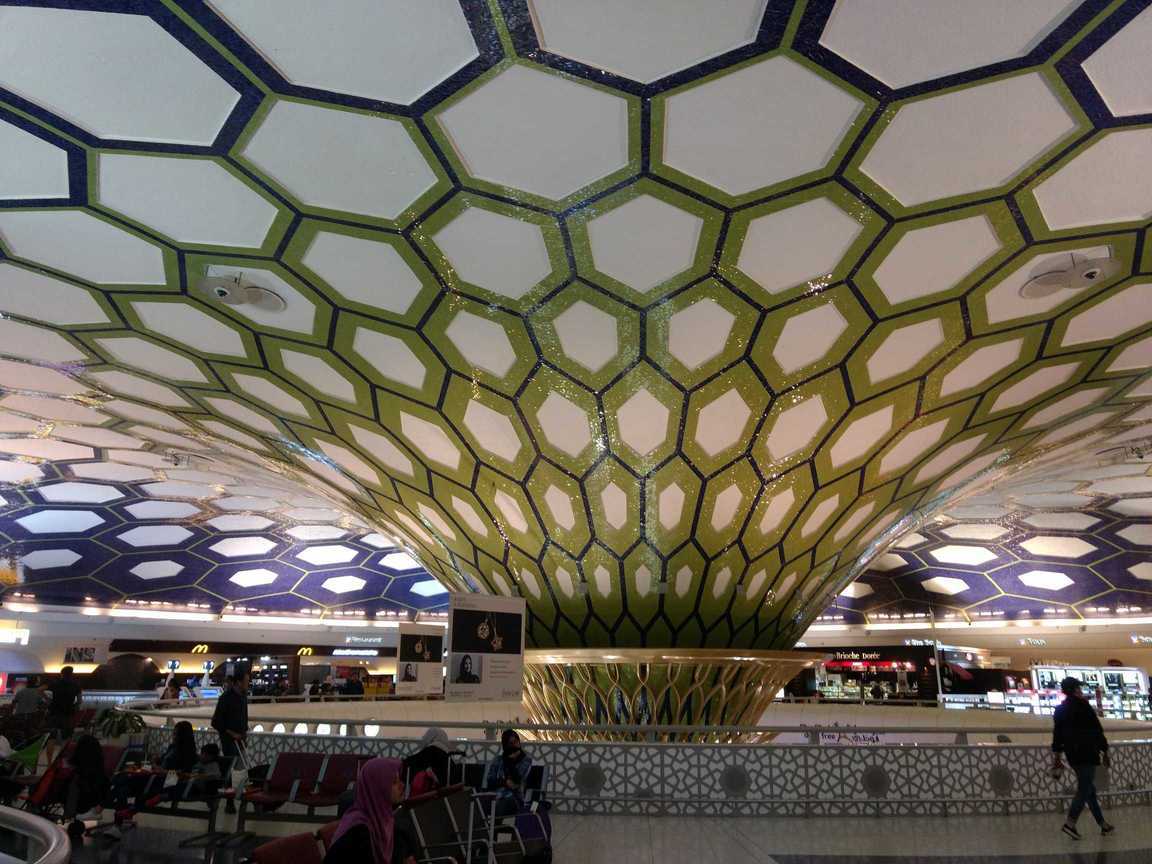
Note to self: may cause tripping if stared at for too long
The next leg was a direct flight to Bangalore, on another Etihad A330. Compared to all the travel I had done in the last two days, the four hour flight almost felt too short. I managed to finish 'Your Lie in April' on this leg.
I had mixed emotions on landing in Bangalore - I was glad to have reached home, but a bit sad that I had to return to college in only two days.
Akademy 2017 was an amazing trip and I am very grateful to KDE for letting me present at Akademy and for giving me the means of reaching there. I hope I can make more trips like these in the future!
Subscribe to my KDE RSS feed here!
04 Jul 2017
It's been almost a year since I finished my GSoC project for implementing discontinuous file selections as a KIOSlave.
The ioslave is now officially shipped in the KDE ExtraGear Utils software package and it can be downloaded from here: https://download.kde.org/stable/kio-stash/kio-stash-1.0.tar.xz.mirrorlist
Introduction
Selecting multiple files in any file manager for copying and pasting has never been a pleasant experience, especially if the files are in a non-continuous order. Often, when selecting files using Ctrl+A or the selection tool, we find that we need to select only a subset of the required files we have selected. This leads to the unwieldy operation of removing files from our selection. Of course, the common workaround is to create a new folder and to put all the items in this folder prior to copying, but this is a very inefficient and very slow process if large files need to be copied. Moreover Ctrl+Click requires fine motor skills to not lose the entire selection of files.
This is an original project with a novel solution to this problem. My solution is to add a virtual folder in all KIO applications, where the links to files and folders can be temporarily saved for a session. The files and folders are "staged" on this virtual folder. Files can be added to this by using all the regular file management operations such as Move, Copy and Paste, or by drag and drop. Hence, complex file operations such as moving files across many devices can be made easy by staging the operation before performing it.
Project Overview
This project consists of the following modules. As there is no existing implementation in KIO for managing virtual directories, all the following modules were written completely from scratch.
KIO Slave
The KIO slave is the backbone of the project. This KIO slave is responsible for interfacing with the GUI of a KDE application and provides the methods for various operations such as copying, deleting, and renaming files. All operations on the KIO slave are applied on a virtual stash filesystem (explained below). These operations are applied through inter process communication using the Qt's D-Bus API.
The advantage of the KIO slave is that it provides a consistent experience throughout the entire KDE suite of applications. Hence, this feature would work with all KIO compatible applications.
Stash File System
The Stash File System (SFS) is used for virtually staging all the files and directories added to the ioslave. When a file is copied to the SFS, a new File Node is created to it under the folder to which it is copied. On copying a folder, a new Directory Node is created on the SFS with all the files and directories under it copied recursively as dictated by KIO. The SFS is a very important feature of the project as it allows the user to create folders and move items on the stash ioslave without touching the physical file system at all. Once a selection is curated on the ioslave, it can be seamlessly copied to the physical filesystem.
The SFS is implemented using a QHash pair of the URL as a key, containing the location of the file on the SFS and the value containing a StashNodeData object which contains all the properties (such as file name, source, children files for directories) of a given node in SFS.
Memory use of the SFS is nominal on a per file basis - each file staged on the SFS requires roughly 300 bytes of memory.
Stash Daemon
The Stash File System runs in the KDE Daemon (kded5) container process. An object of the SFS is created on startup when the daemon is initialized. The daemon responds to calls from the ioslave communicated over the session bus and creates and removes nodes in the SFS.
Installation
Make sure you have KF5 backports with all the KDE dependency libraries installed before you build!
Download the tarball to your favorite folder, extract, and run:
mkdir build
cd build
cmake -DCMAKE_INSTALL_PREFIX=/usr -DKDE_INSTALL_USE_QT_SYS_PATHS=TRUE ..
make
sudo make install
kdeinit5
Result
Open Dolphin and set the path as stash:/. This directory is completely 'virtual' and anything added to it will not consume any extra disk space. All basic file operations such as copy, paste, and move should work.
Folders can be created, curated, and renamed on this virtual folder itself. However, as this is a virtual directory, files cannot be created on it.
Copying from remote locations such as mtp:/ may not work however. Please report any bugs for the same on http://bugs.kde.org/.


